ROG Xbox Ally X Review

Ally X In Detail
Ally X In Detail
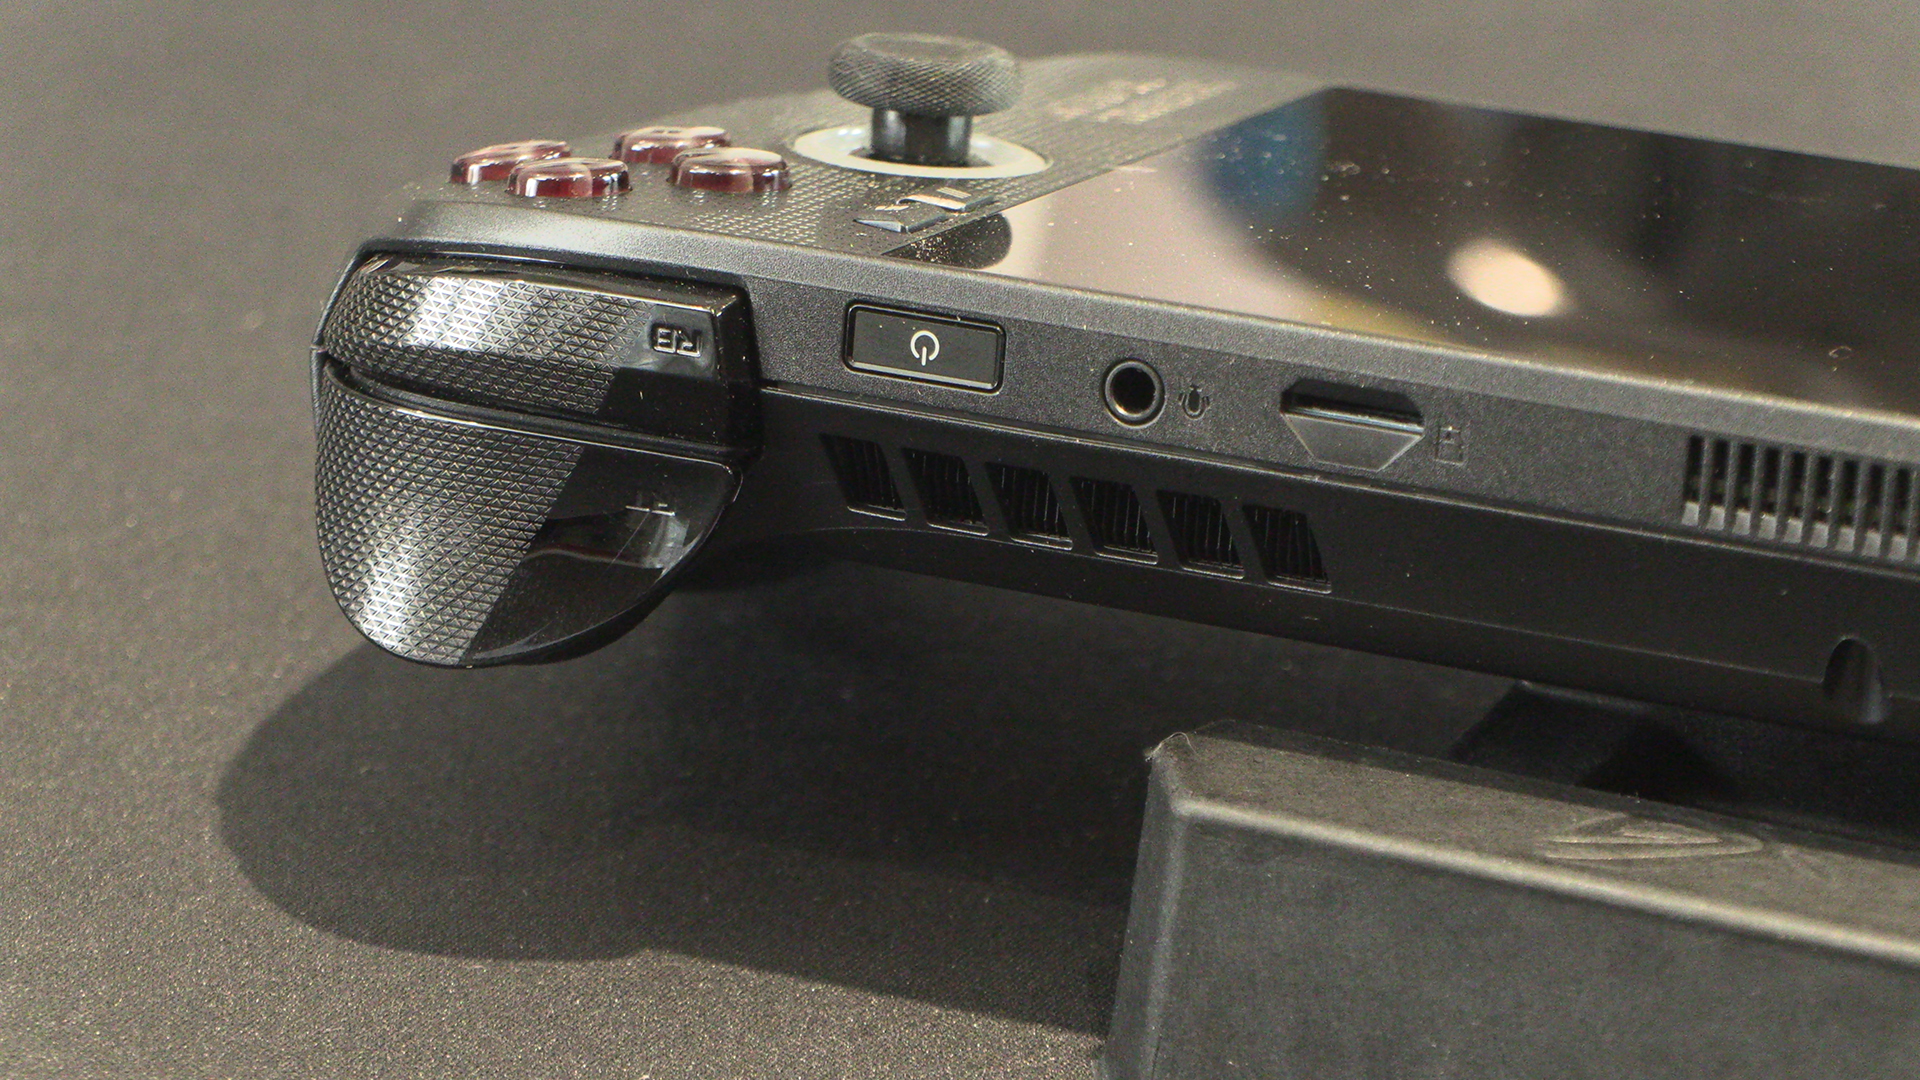
From right to left – when you’re holding it – we start with the bumper and trigger buttons that are such a part of the Xbox controller. Given that the Ally X is a lot bigger – and heavier – than a pad, the extra grip is very useful. Next are the all important headphone jack and power button that also doubles up as a fingerprint reader. Kudos to ASUS for not going with a proprietary connection coughApplecough.
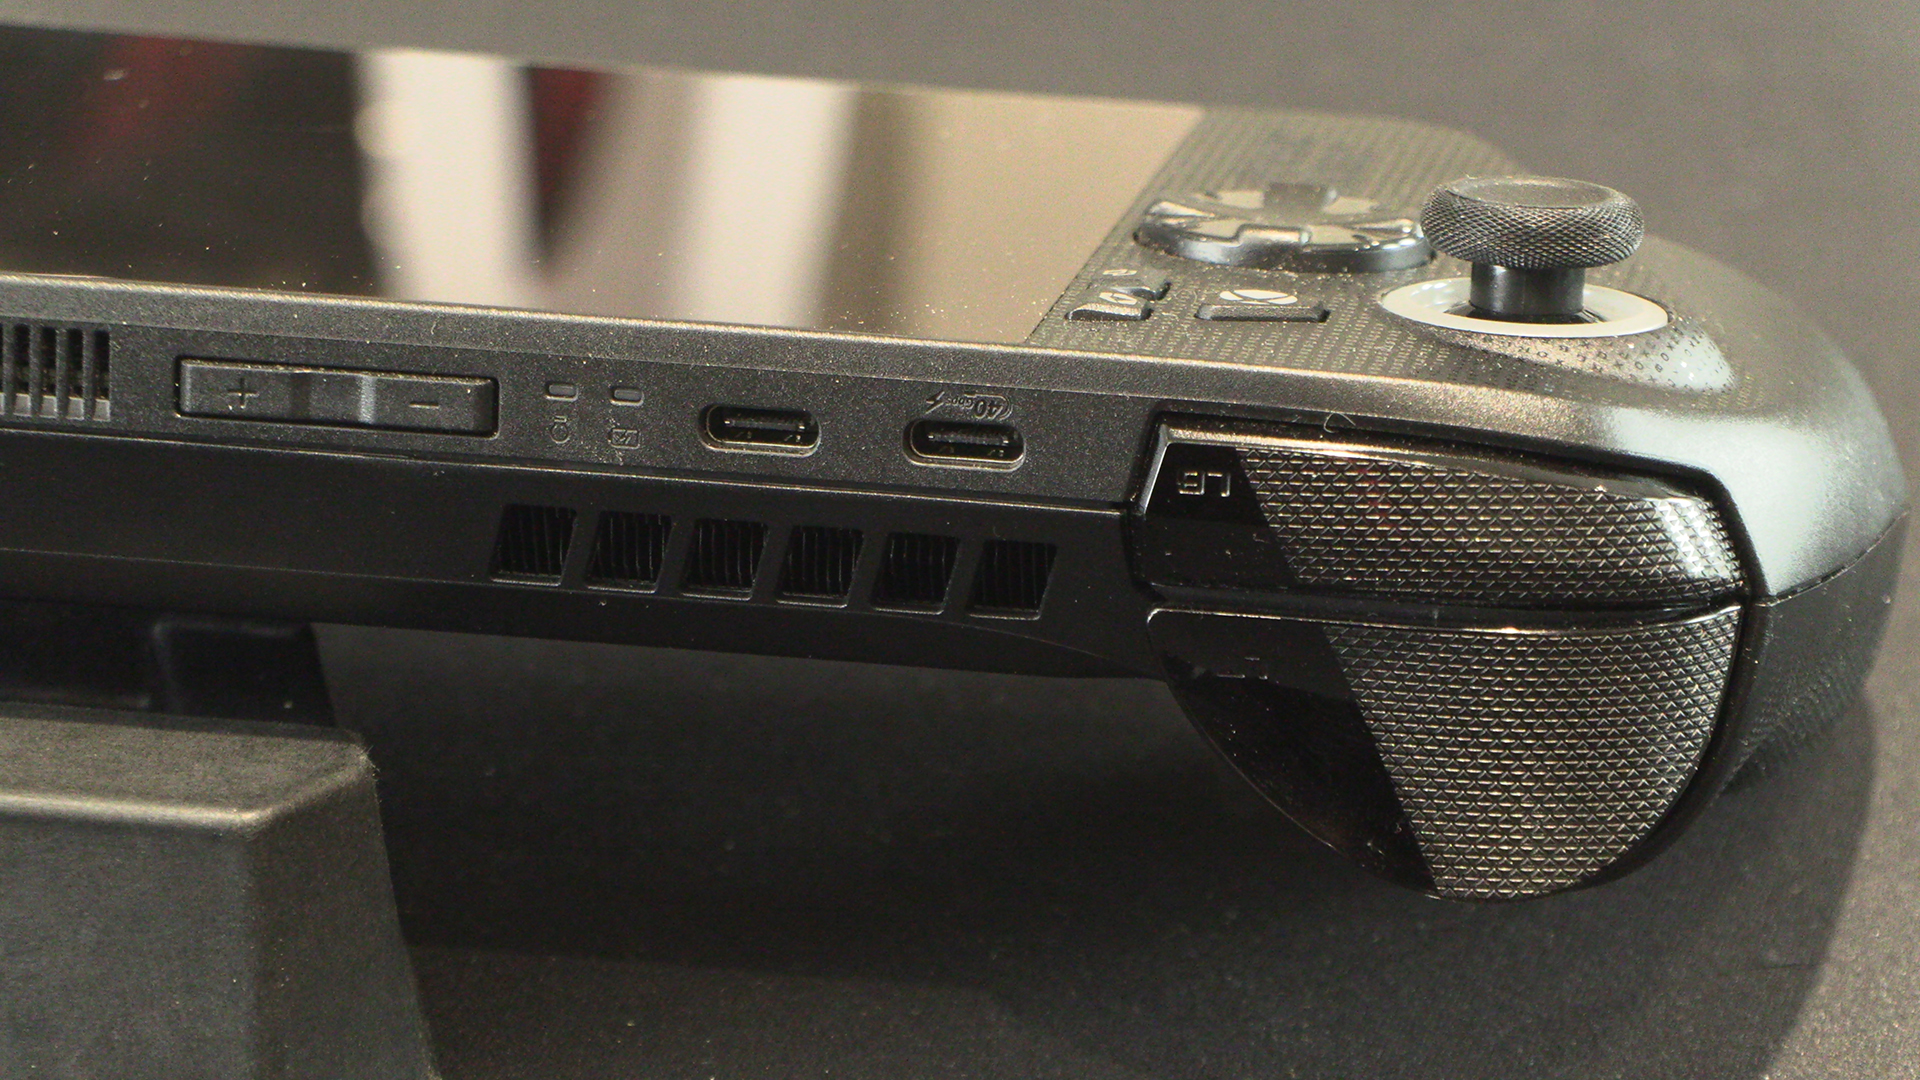
Volume controls are within easy reach, and the charging LEDs are next. Given that the Ally X doesn’t give you an onscreen indication of charge state if it’s off, that LED is very handy. We wrap up the back with two Type-C Ports, one of which is a 40 Gb one, and the left bumper and trigger.
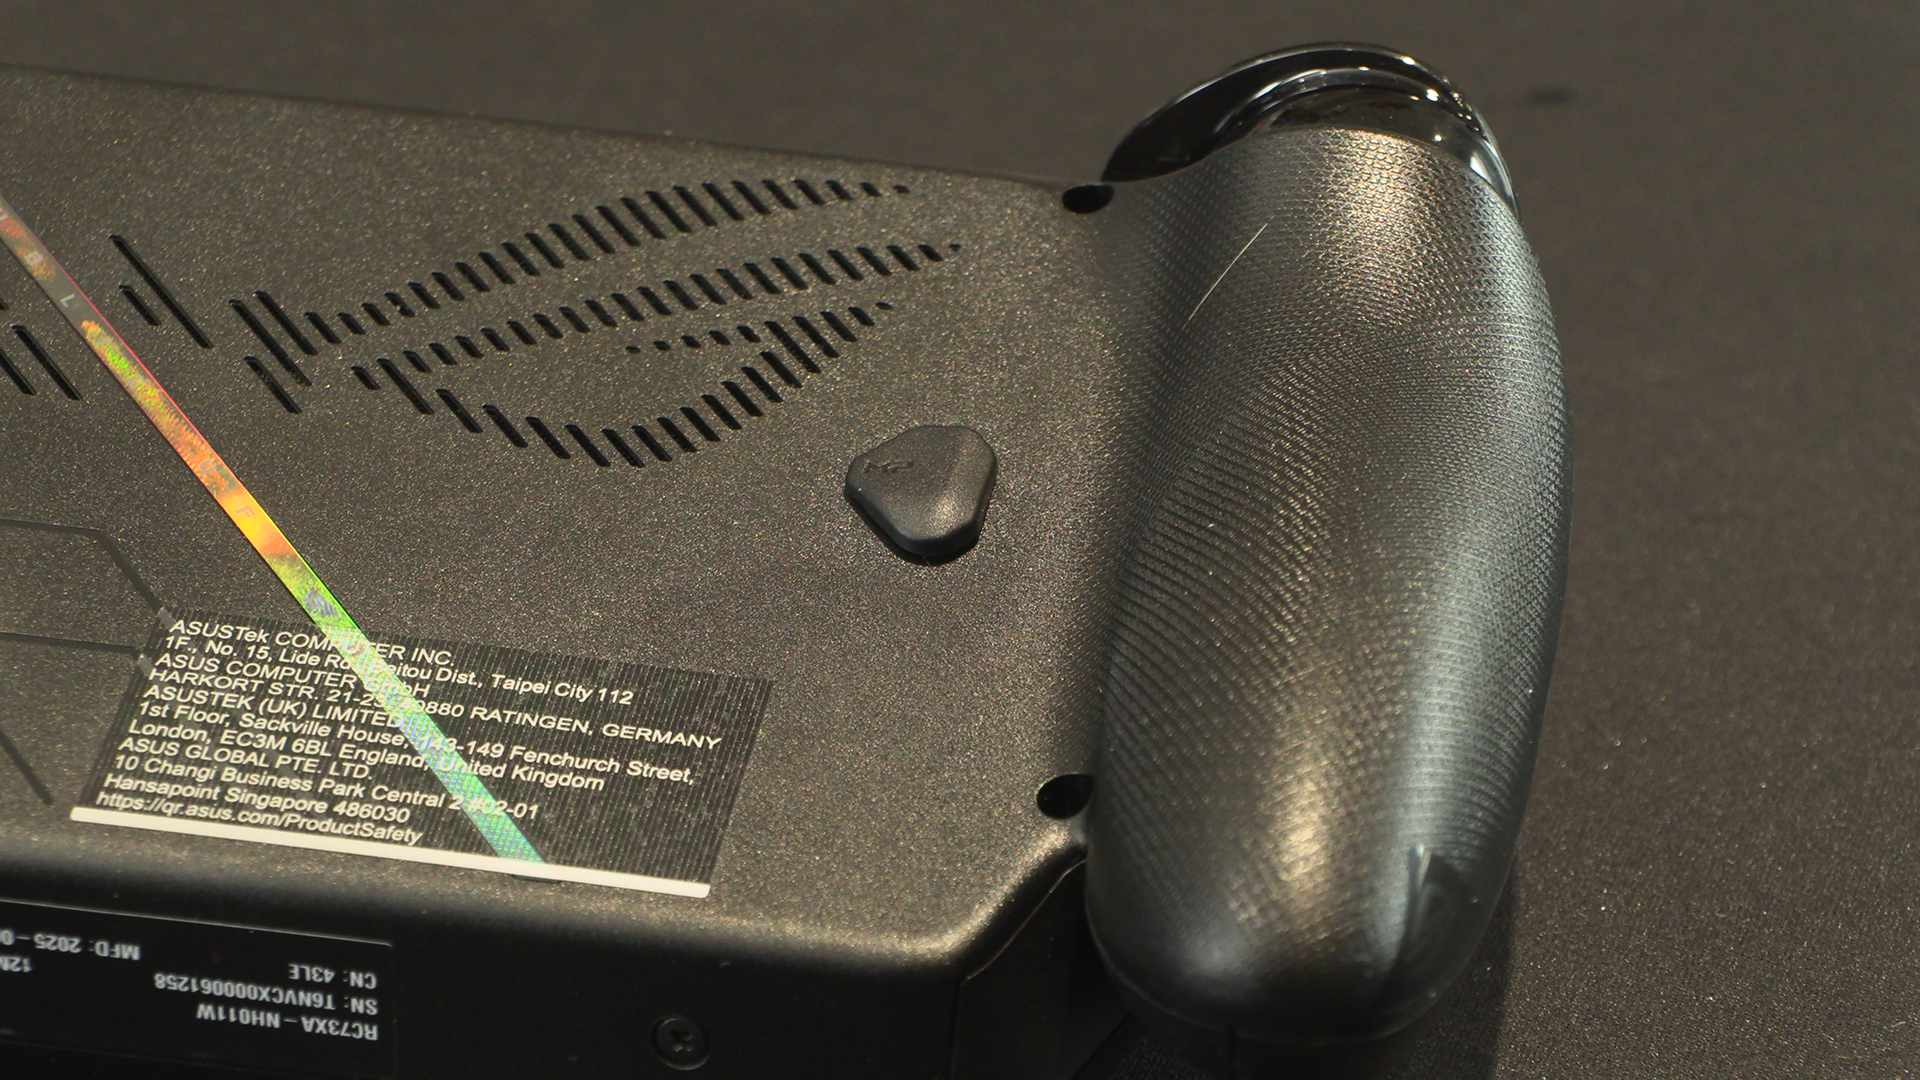
The grips are covered with ROG in tiny letters. Just in case you wanted to replace your fingerprints with some branding. The back, whilst dominated by the cooling, also has two Macro buttons. M1 here and…
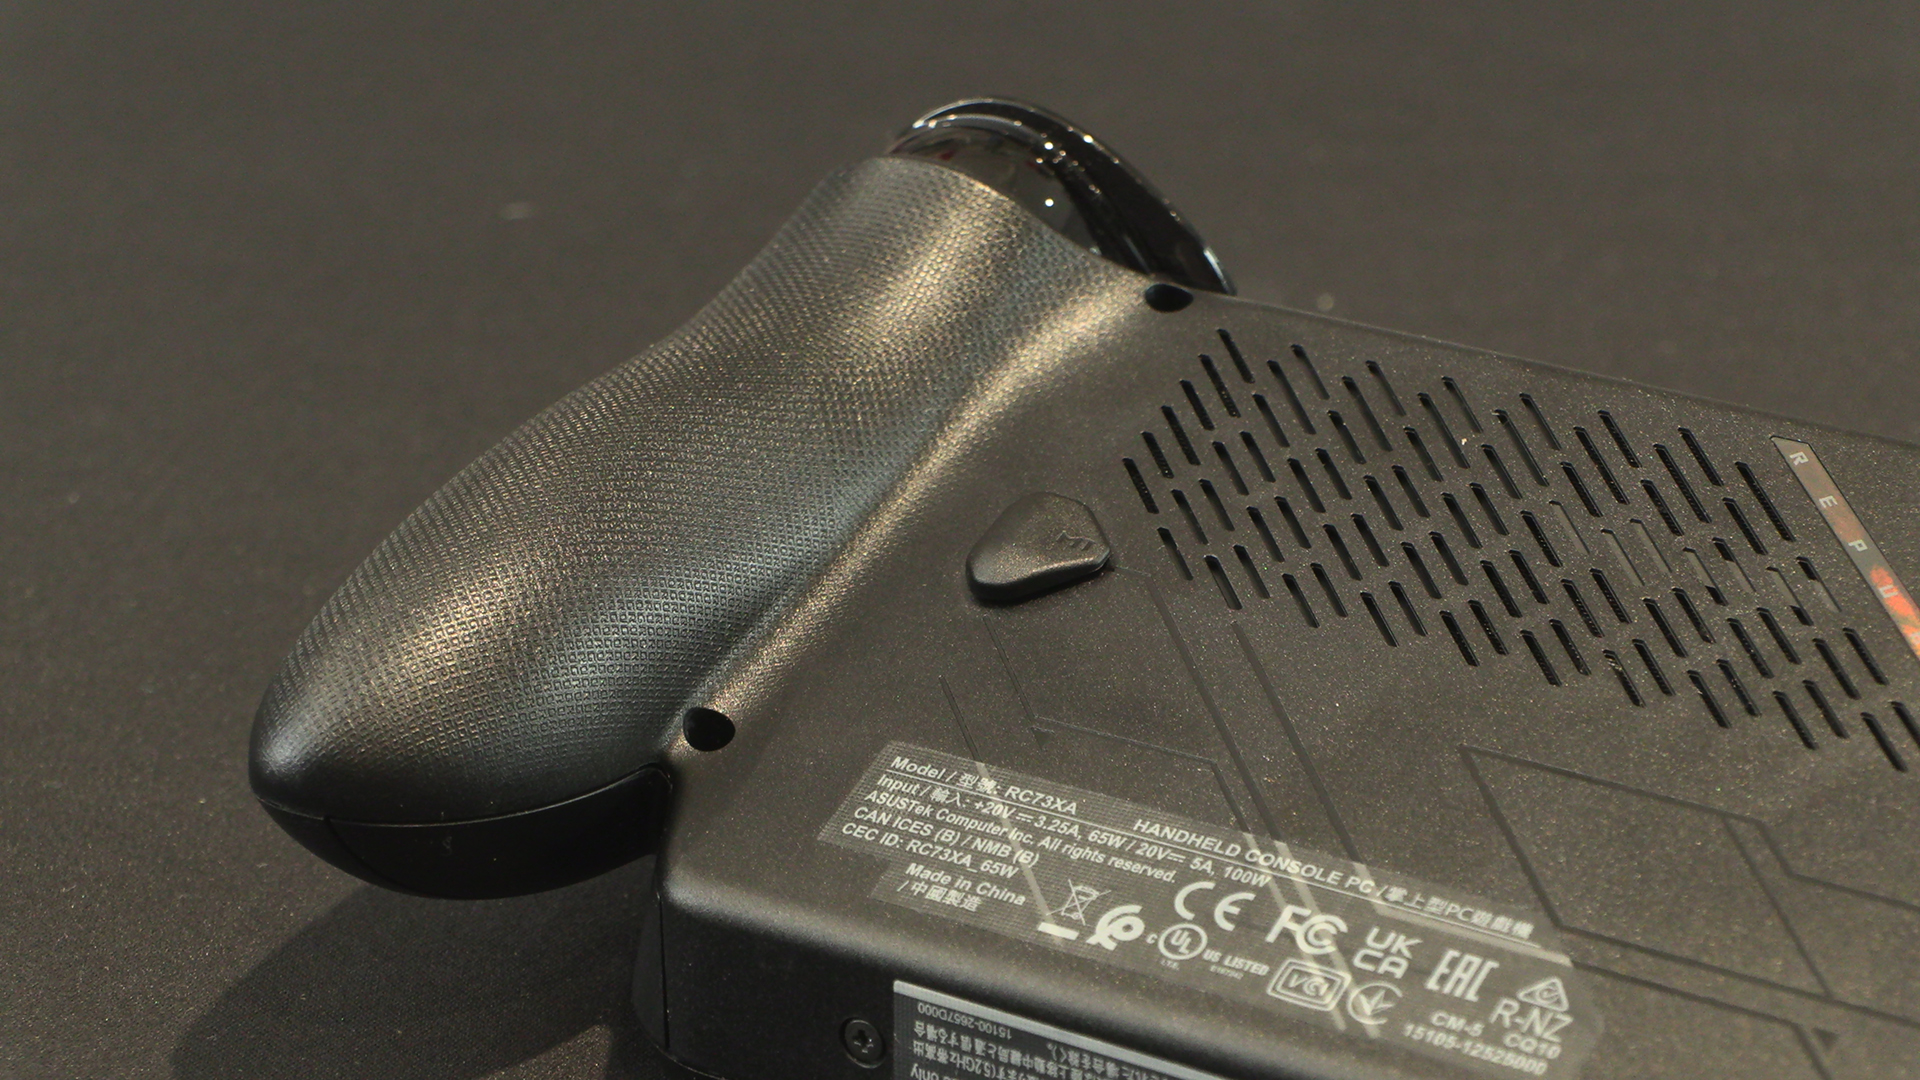
M2 here. We’ll show you what you can do with those in a moment.
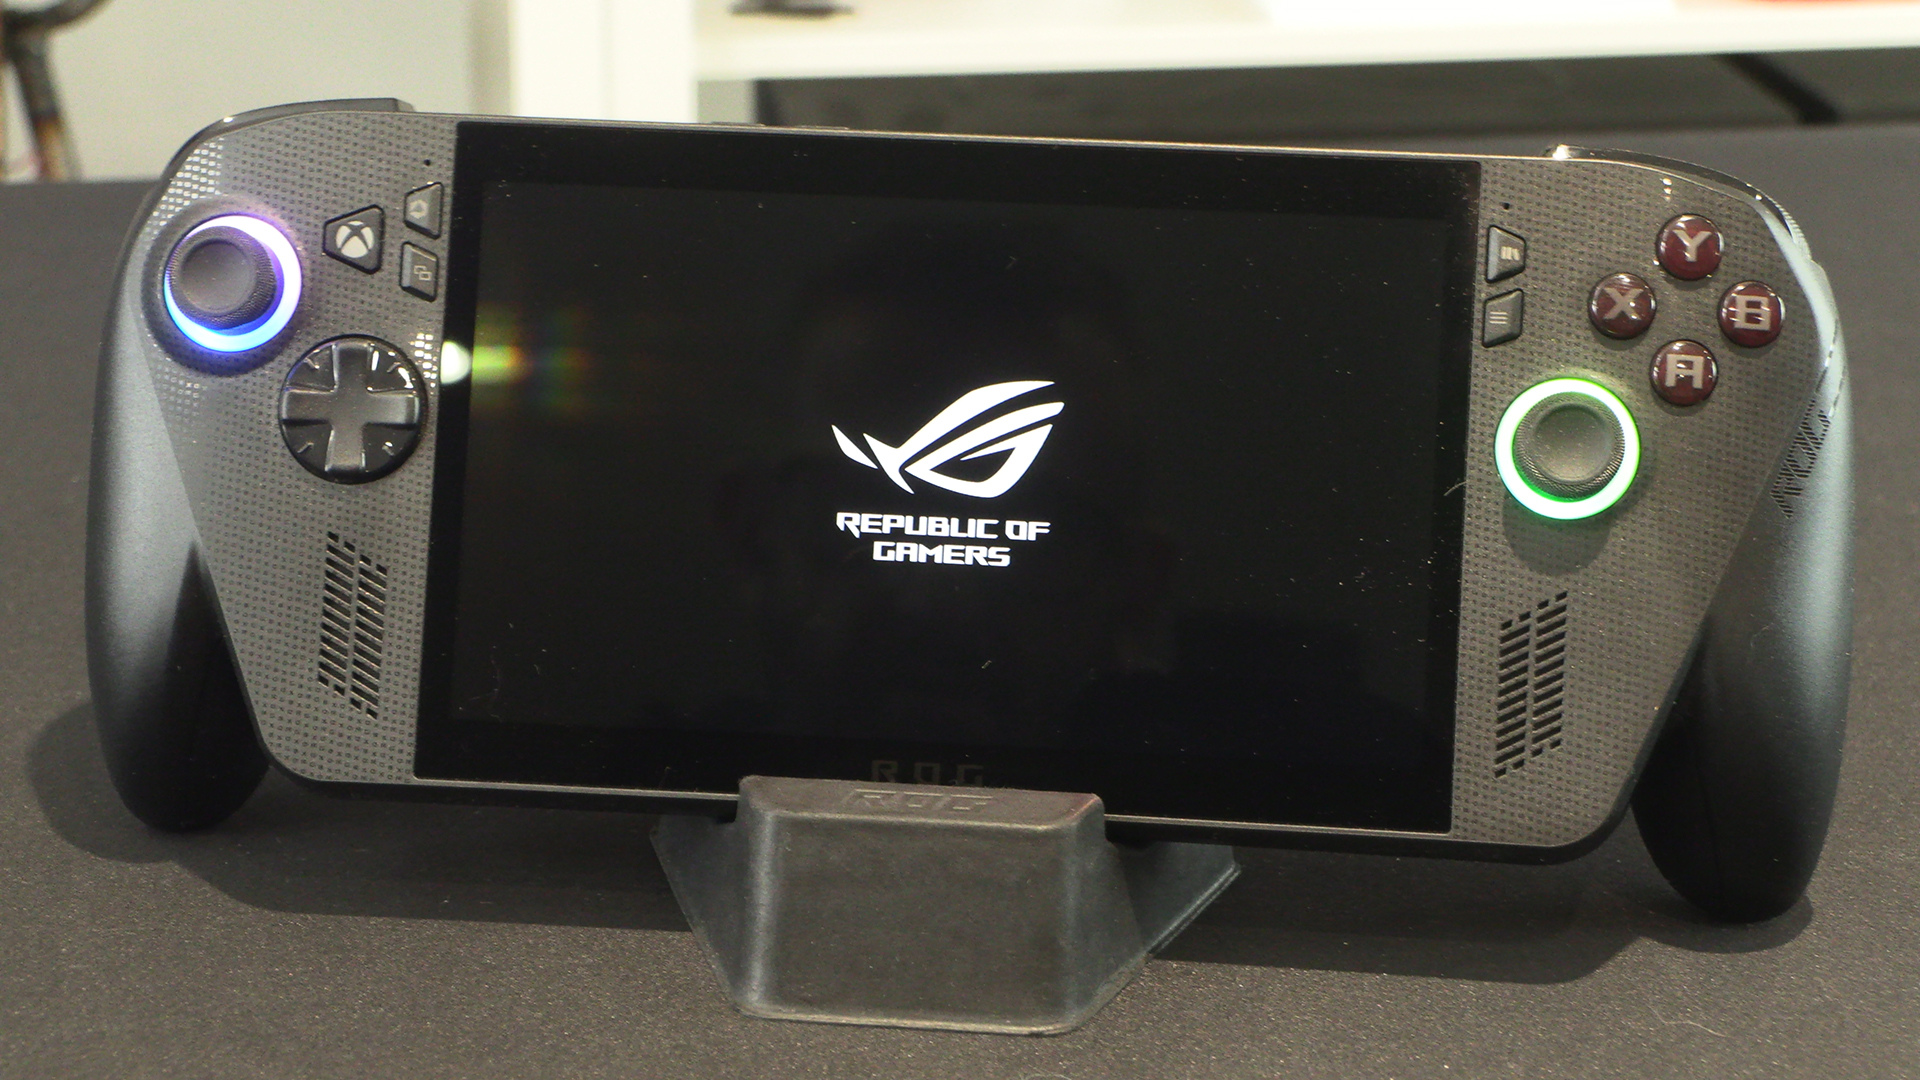
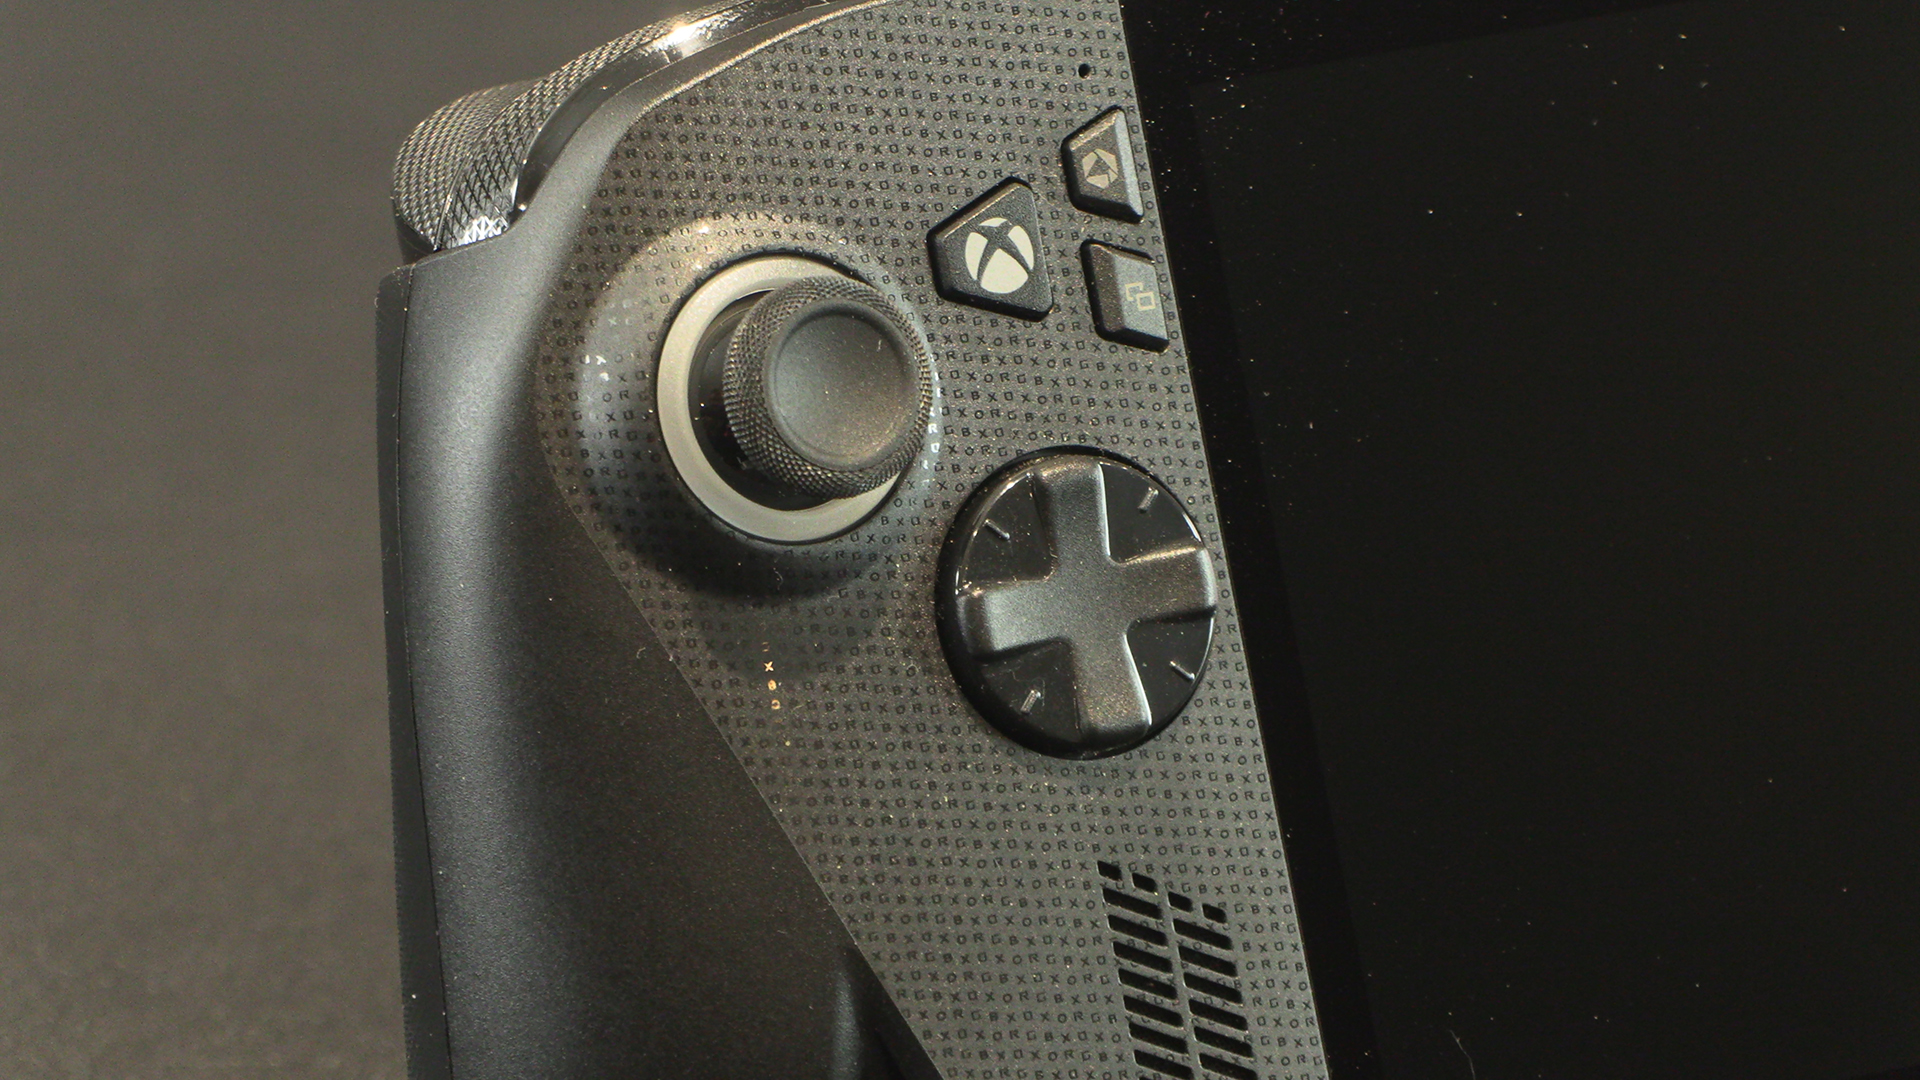
The front pattern is ROGXBOX running vertically. Odd as we generally read left to right. Our brain reads RGBXOX. The big Xbox button sits right next to the Armory Crate and Context sensitive view buttons. Those with especially big thumbs need to press carefully. The DPAD is similar to those on the official pads, but the diagonals are easier to hit.
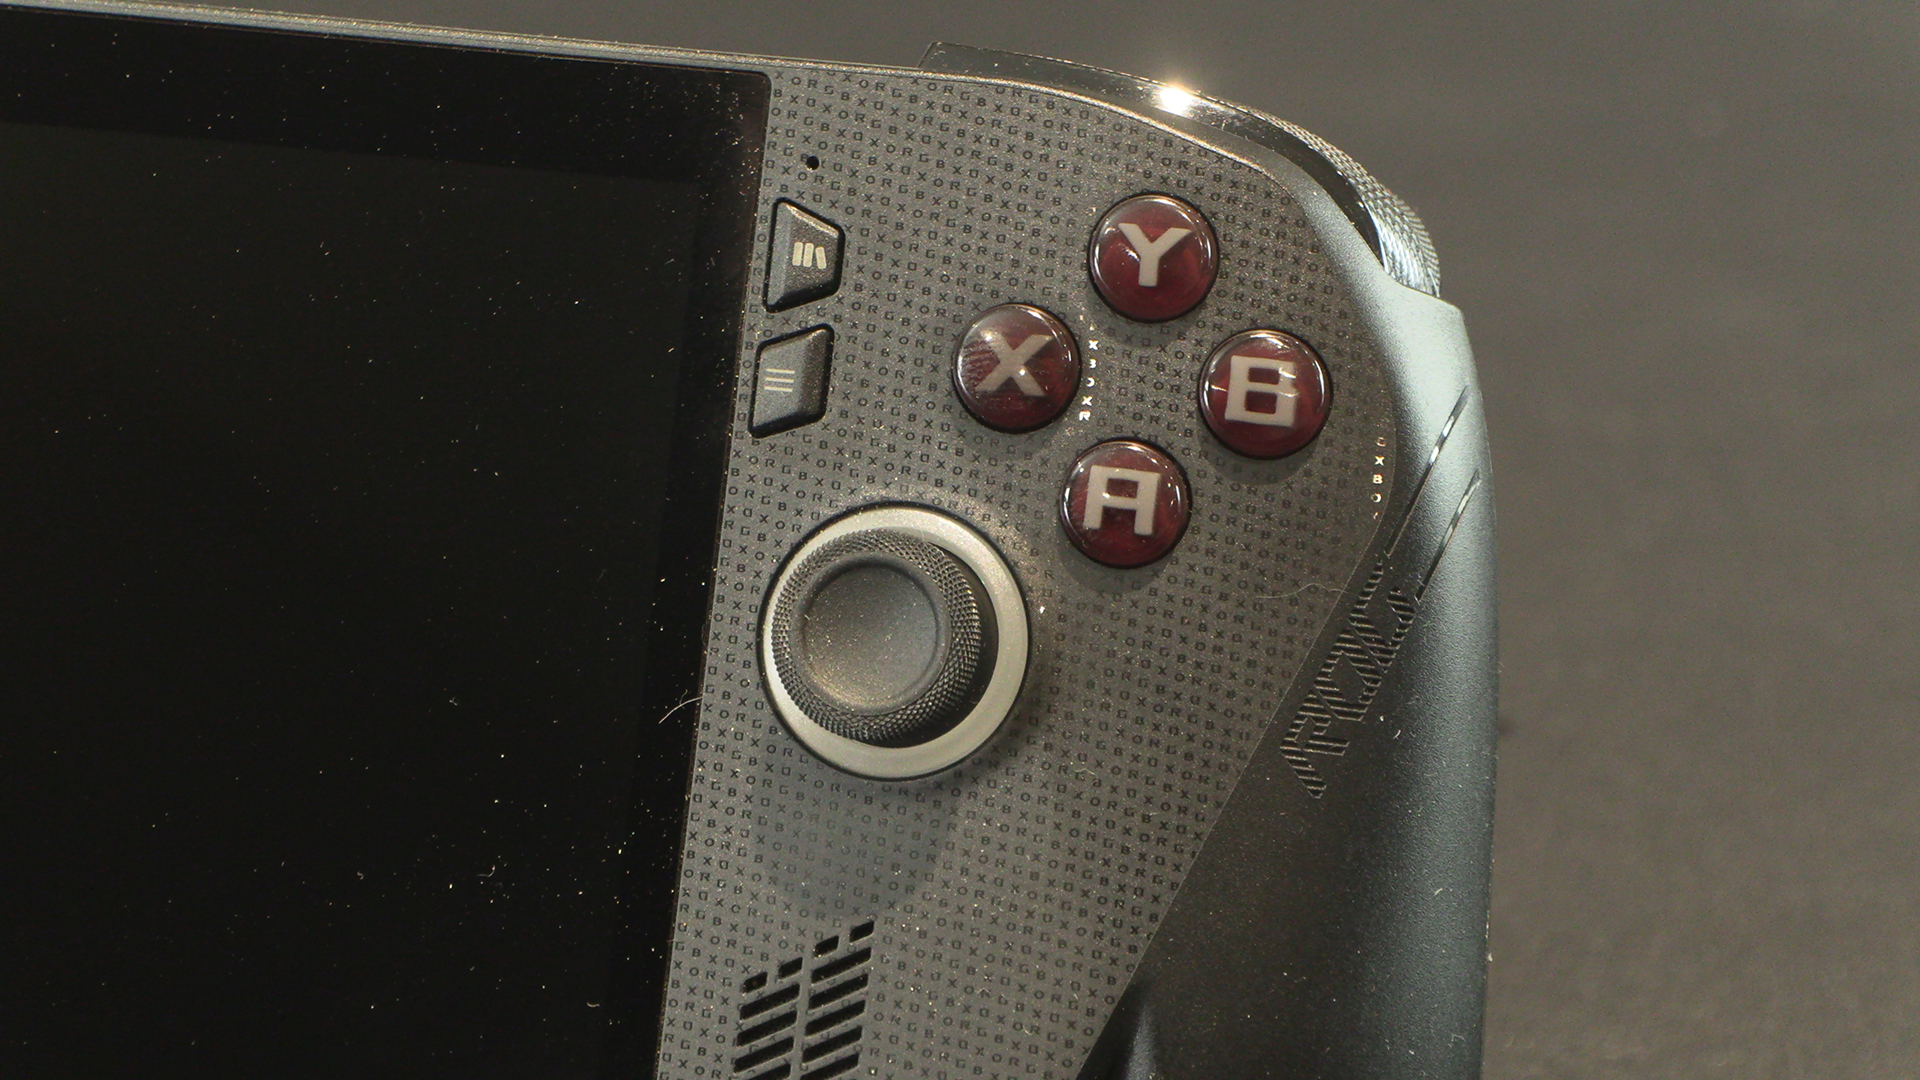
Whilst the library and Copilot buttons are as close together as those on the left side, without the useful Xbox button near them you’re unlikely to hit them accidentally. Regular ABXY will be familiar to anyone who has touched an Xbox game.
The first power on shows how bright the screen and RGB lighting are. I wish my Electric Volt Xbox Series X pad lit up.