


Gigabyte Z490 Aorus Xtreme Review

Up Close – A Clockwise Tour
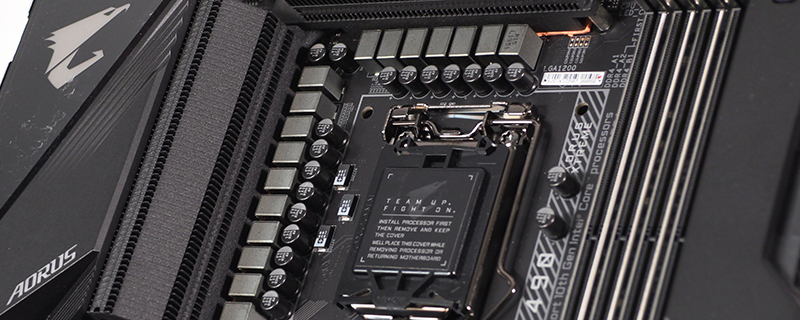
Starting as we always do with the top left and the CPU inputs, they are very close together and tight to the heatsink. Only the most slender fingered will comfortably be able to put a fan into the left most header. It’s definitely utilising all the available PCB, you’ll just need to think about the order in which you want to build it.

Moving along we have the CPU fans – two – next to the 7 segment error display and automatic overclocking thanks to the OC Ignition button. Next up are the temperature probes, and lastly the reset and power switches so to the side of the DDR4 slots.

The secret of how the Aorus Xtreme looks so good from above is in the horizontal mounting of all the headers and connectors. Masterful. It makes us moist to look upon. First up are a whole host of fan headers, and a perfect reason as to why we deal with fan headers on an individual basis rather than trying to highlight them all in a single picture. With this you’d never see these. Although those of you who skip all this will be aware we have an overview on the first page of this review. Thank you to those who take the time to see it all in detail.

Next on the horizontal scale is the 24 pin ATX connector. Of all the cables in your rig it’s the one that is hardest to either hide or make look good, so a side mount is perfect for you neat freaks. Our build photograph on the specifications page shows how spectacularly neat you can get.

Moving further down we have centrally mounted front panel connectors for your chassis, and some LED headers for all that lighting goodness we’ve come to depend upon.

Lastly on this section the six SATA ports sit next to a USB 3.1 style header. Onwards!
