Bambu Lab H2D Laser 3D Printer Review – Make Everything!

Cutter and Pen Plotter Accessory
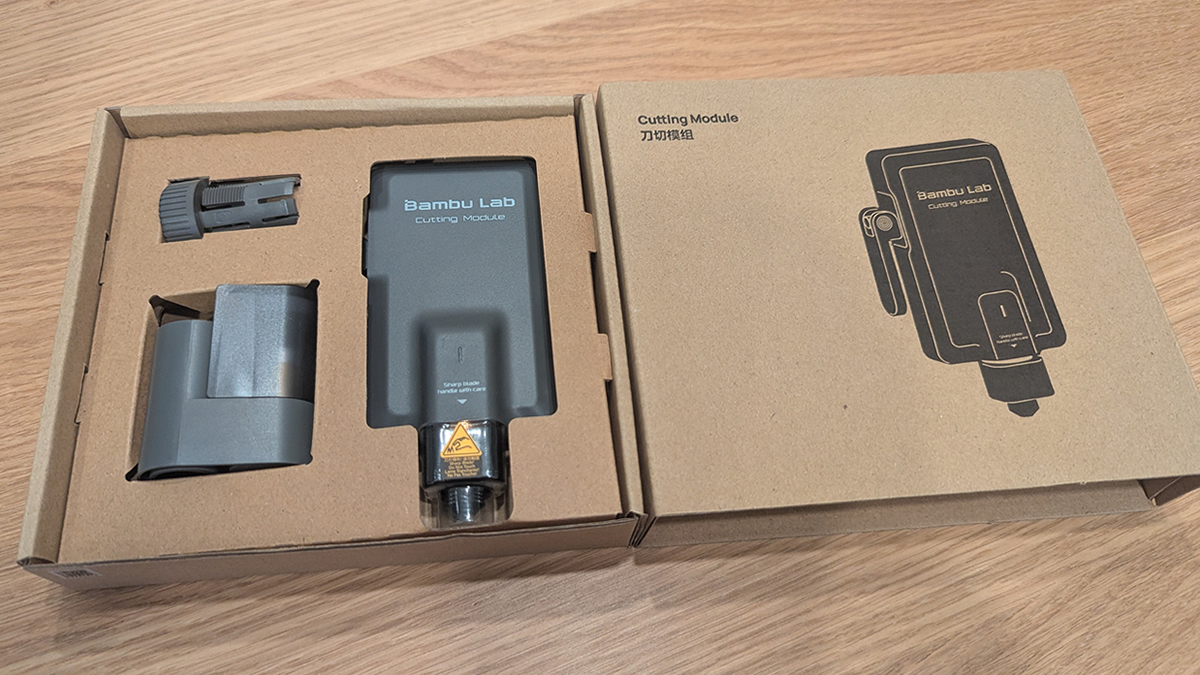
Bambu Lab H2 Series Cutting Module
If you were to ask me if I wanted a cutting module on a 3D printer, my first thought would be, “Are you mad?” However, this accessory makes more sense when you consider what the H2D can do and how those movements could also be utilised.
If you want to turn a 3D printer into a cutting module, you only need two additions. Those are a cutting tool head and a cutting plate. Both of those can easily be attached to a Core-XY 3D printer.
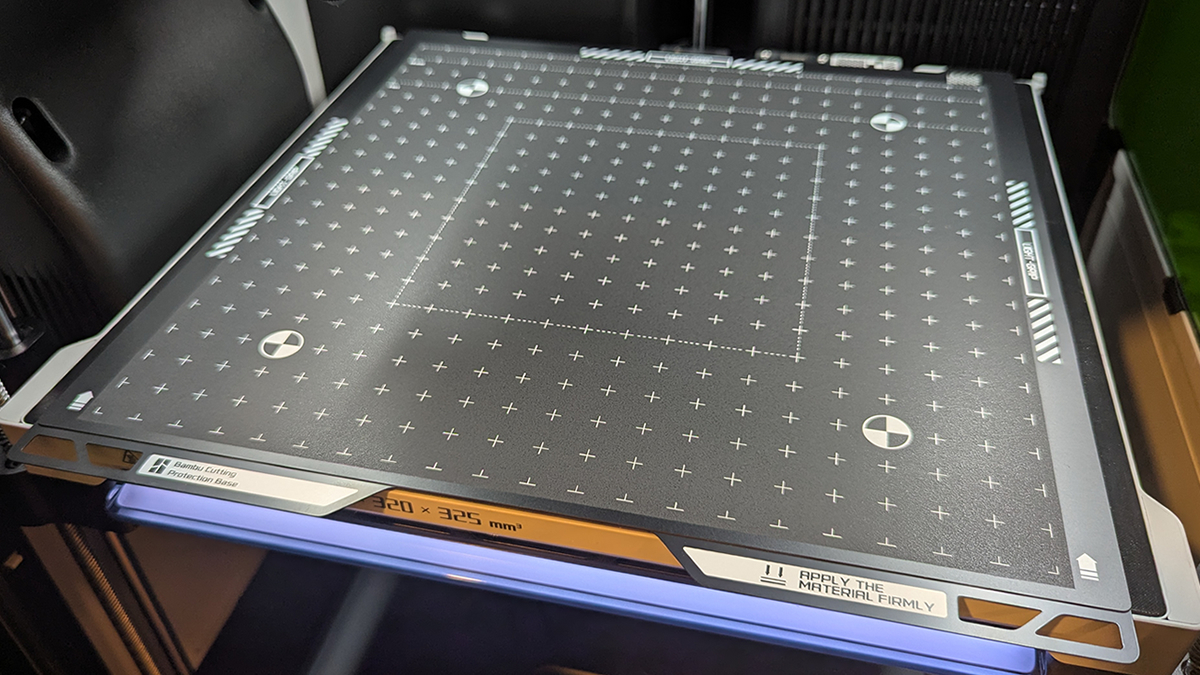
H2D users can simply remove the printer’s standard 3D printing build plate and attach Bambu Lab’s cutting base. It has two sides: a light grip side and a strong grip side. This can hold material on the plate for cutting. Note that both sides have a plastic cover, which keeps the cutting plate tacky.
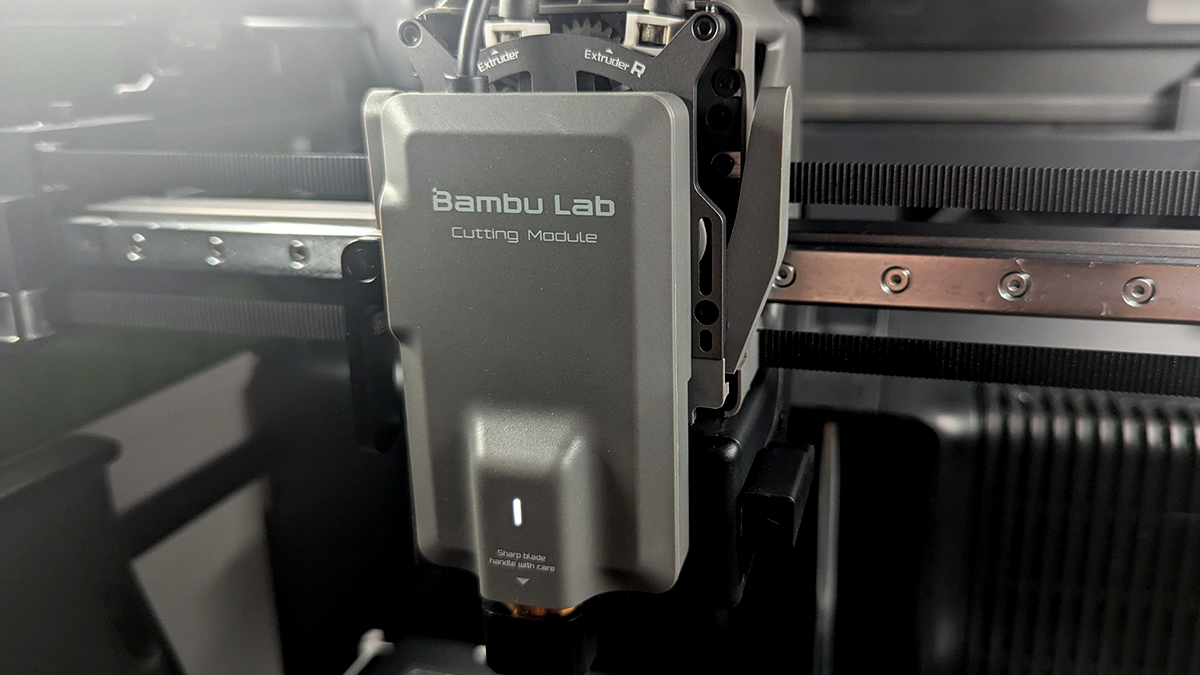
H2D users can attach the cutting module to the front of their 3D printers and plug it into the printer’s toolhead. After confirming the switch on the 3D printer itself, you will be ready to cut.
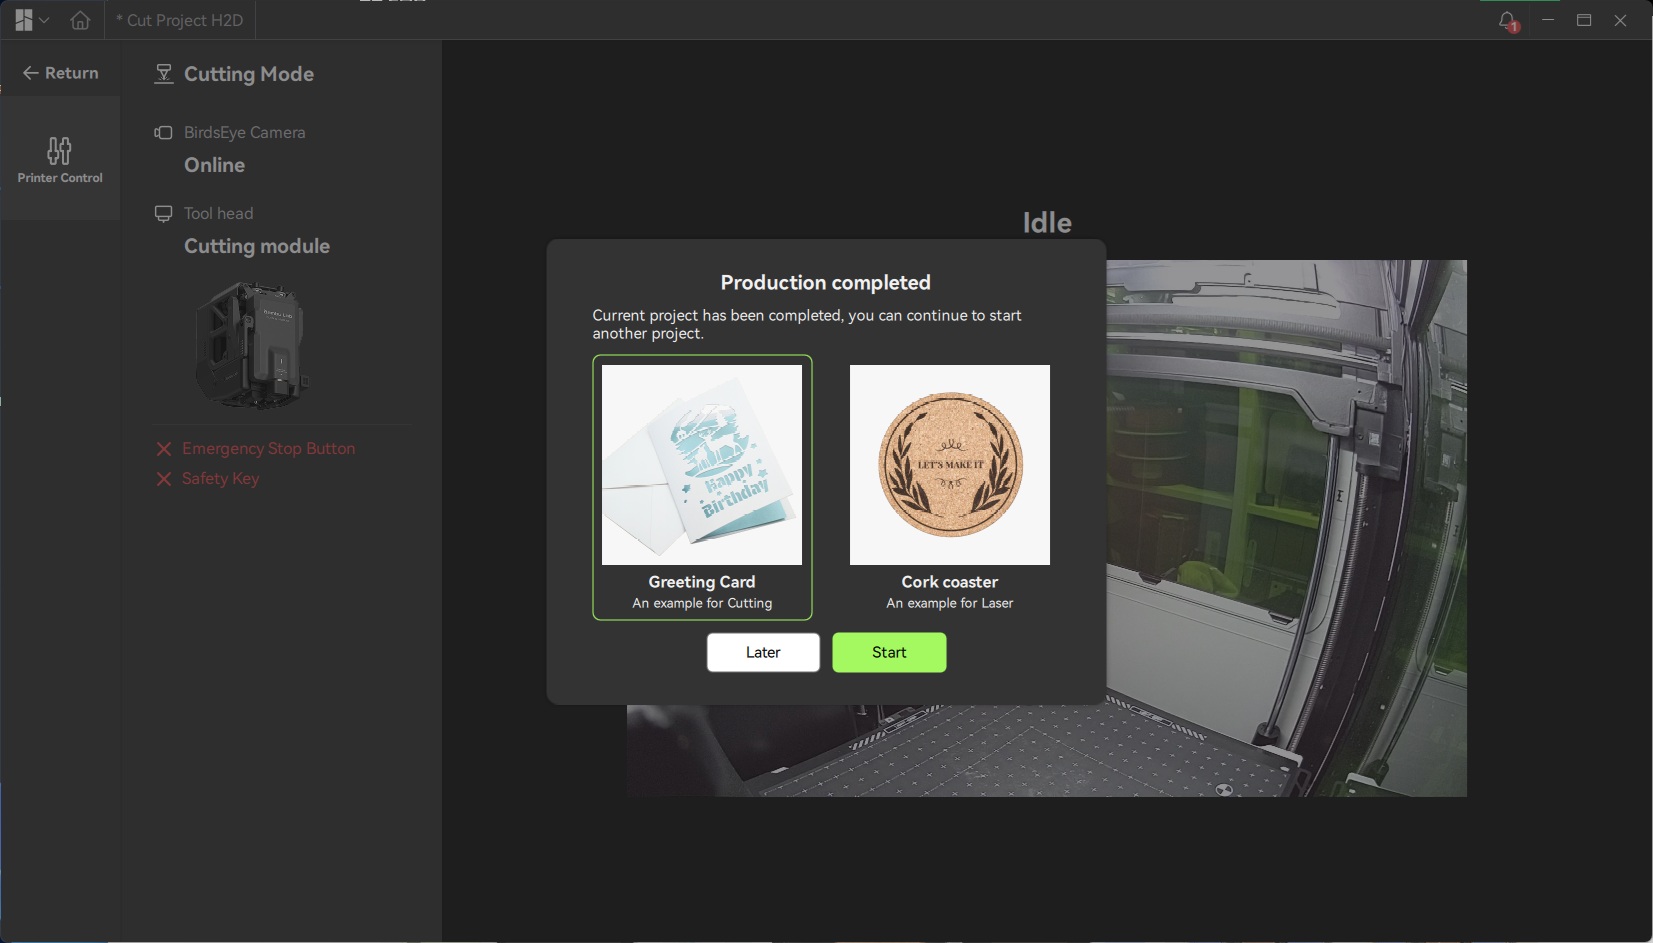
Bambu Lab uses separate software for laser cutting, cutting, pen plotting, and other tasks. This software is called Bambu Studio. Upon entering the software, users will be greeted with two projects, which will teach H2D users how to use the 3D printer’s cutting and laser module accessories.
The Button!
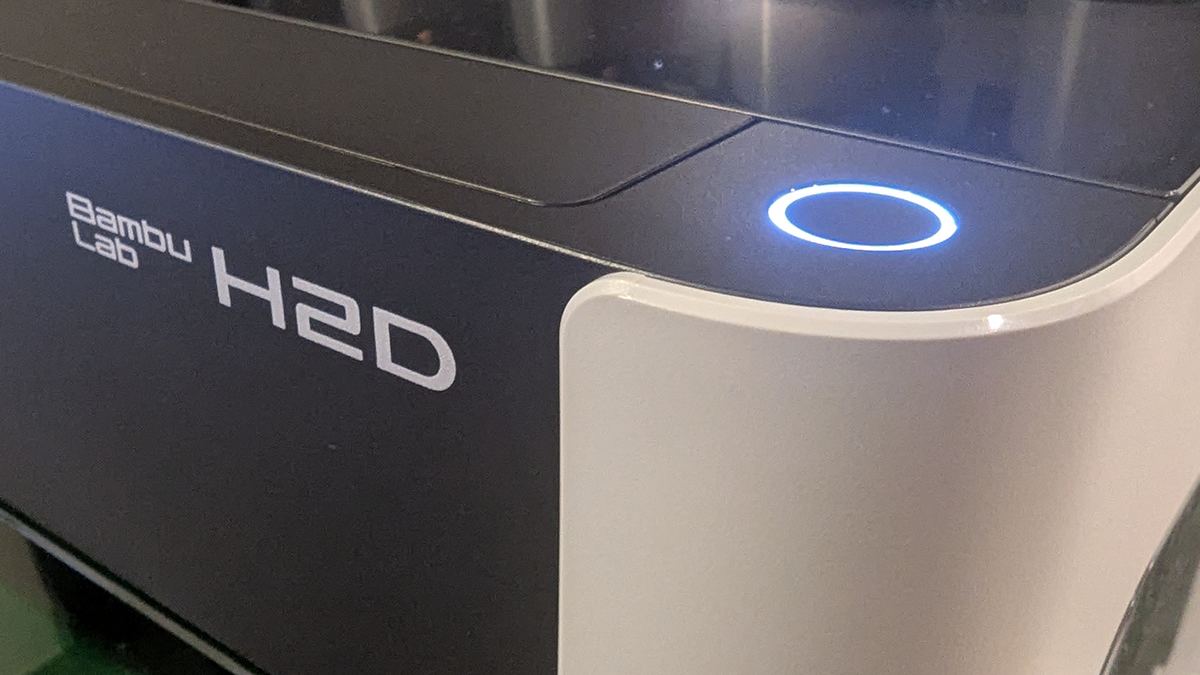
If you are doing a cutting, plotting, or laser job, you will need to manually start the job at the 3D printer. 3D prints can be initiated remotely, but these other tasks can’t. To initiate jobs, users need to press the button at the top right of the printer. This is similar to how most enclosed laser cutting tools work.
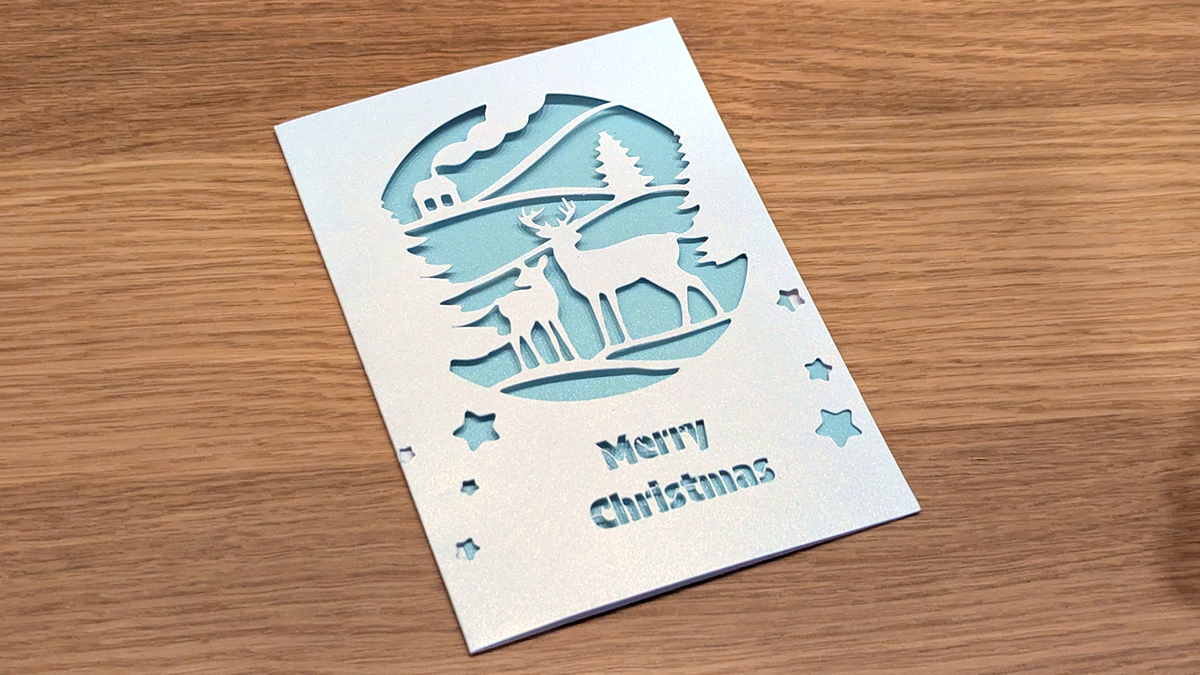
Below we have the H2D’s test cutting job. It highlights how effective the cutting tool is with paper and other thin materials.
Next, we took some Vinyl and made an OC3D logo. It didn’t take long to make this logo, or to cut it. We needed the logo as an SVG file, then we sized it up and started cutting.
![]()
Pen plotting
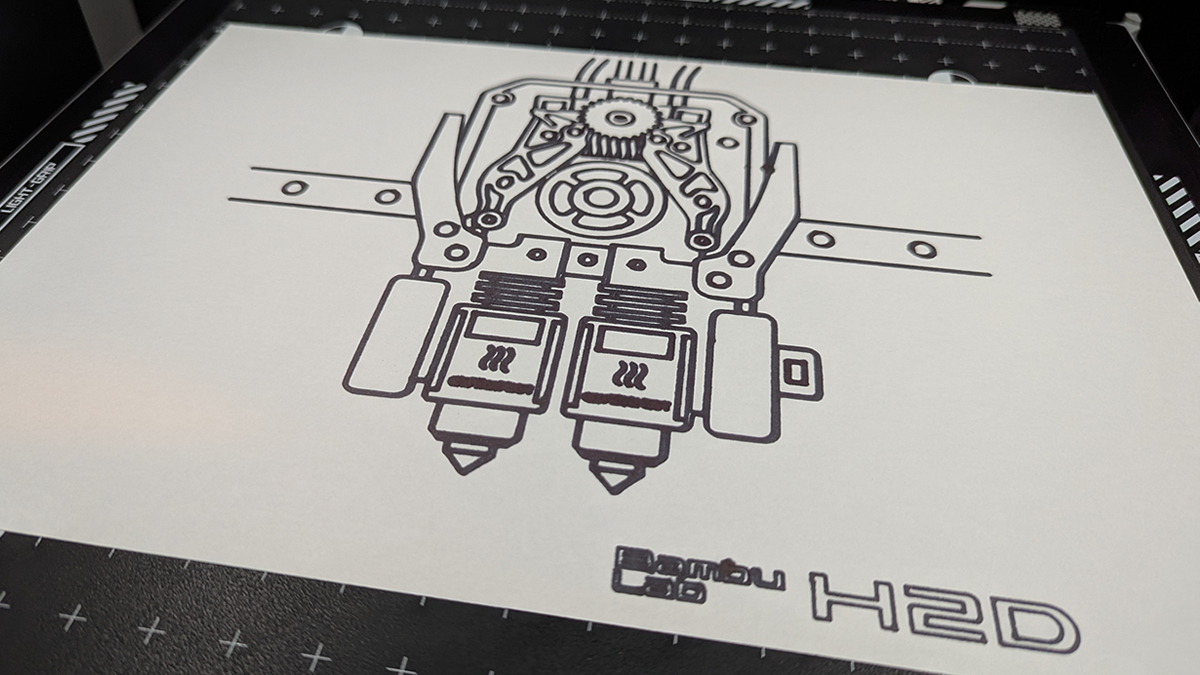
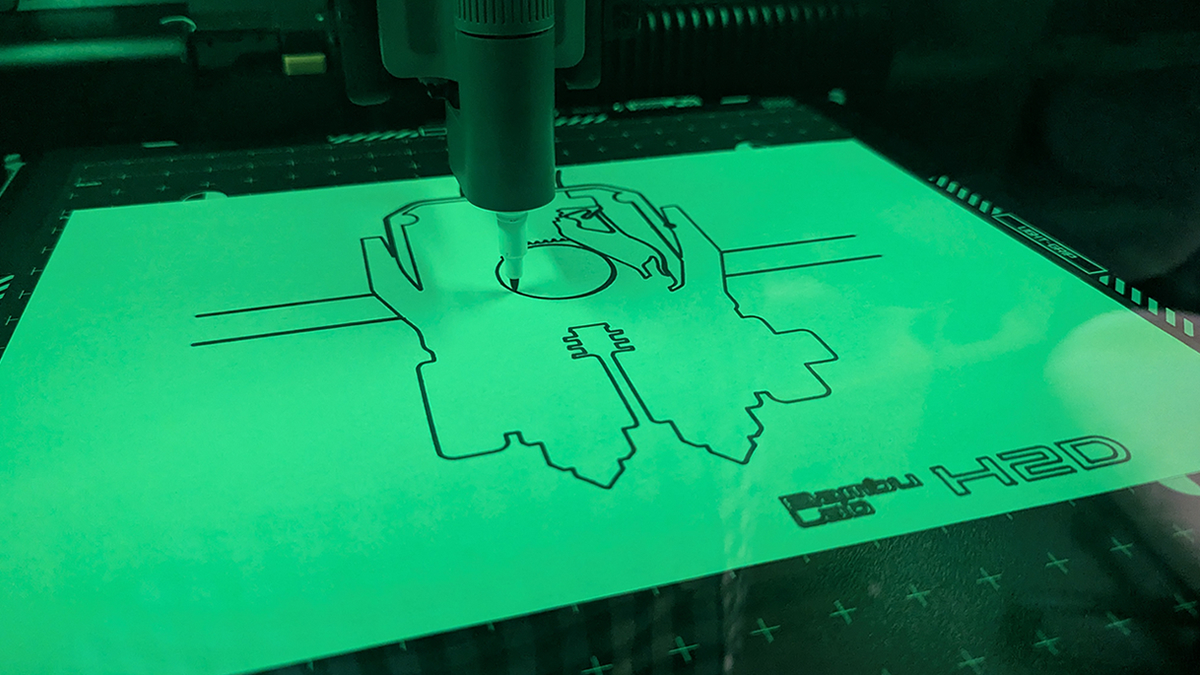
With the cutting module, Bambu Lab had most of the parts needed to use the H2D as a pen plotter. That’s why Bambu Lab’s cutting accessory comes with a pen plotting attachment. We simply laid some paper inside the machine, installed the pen module and got started. Below, the H2D is drawing an image of the tool’s hot-end. If you want this image, it is available on MakerWorld from mr_mkaay.
Below, we can see the great results that the H2D’s pen plotter can deliver. Note that we can use this tool to create multi-colour pen plots by using multiple pens. This requires manual pen switching. Note that we recommend using pens of the same brand/model for this purpose. If you use different pens, their tips may be offset from each other when installed, which may prevent images from lining up perfectly. Using the same pen model/brand will prevent this issue.