Bambu Lab H2D Laser 3D Printer Review – Make Everything!

Laser Cutting and Engraving
A laser cutter inside a 3D printer?
Honestly, when I first heard of the H2D Laser, I thought that Bambu Lab were crazy. If there was one thing I wanted from a new 3D printer, it wasn’t a laser. Furthermore, I was concerned about how smoke inside the machine would impact its longevity. Thankfully, Bambu Lab has sold me on the laser’s inclusion.
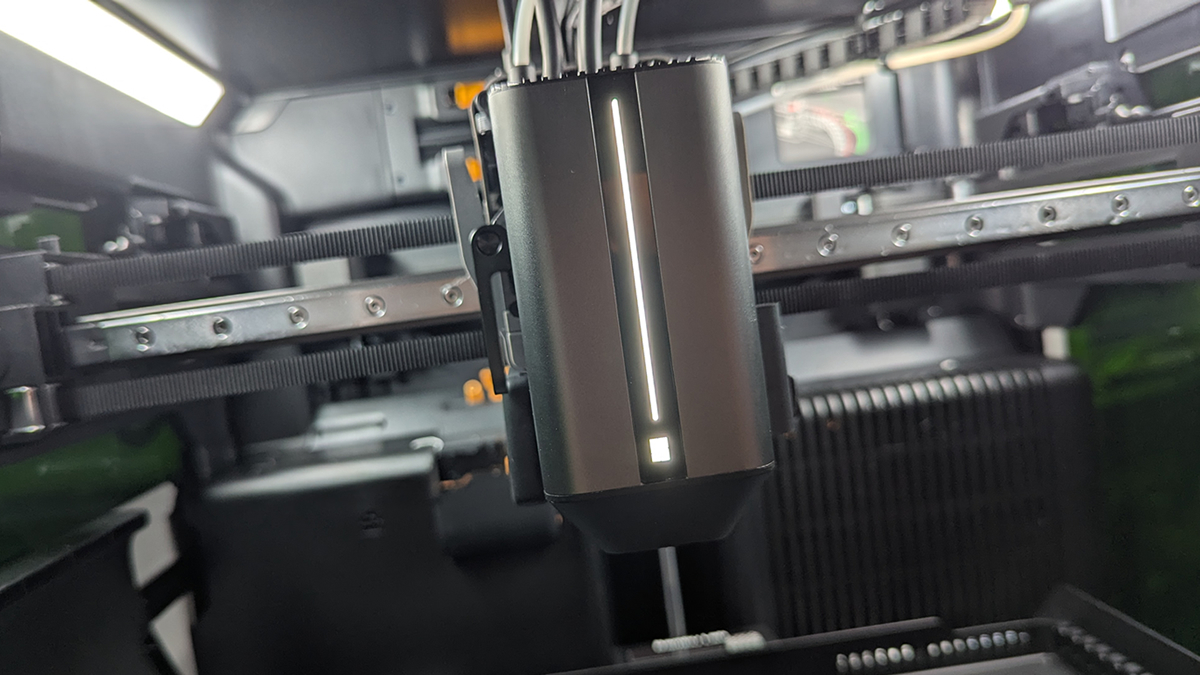
Like the cutting tool, H2D users can install the laser module on the front of the 3D printer’s hot-end assembly. Then they can plug in the module and insert an air tube. This tube shoots air at the area being lasered, quickly pushing away smoke while preventing excessive heat buildup.
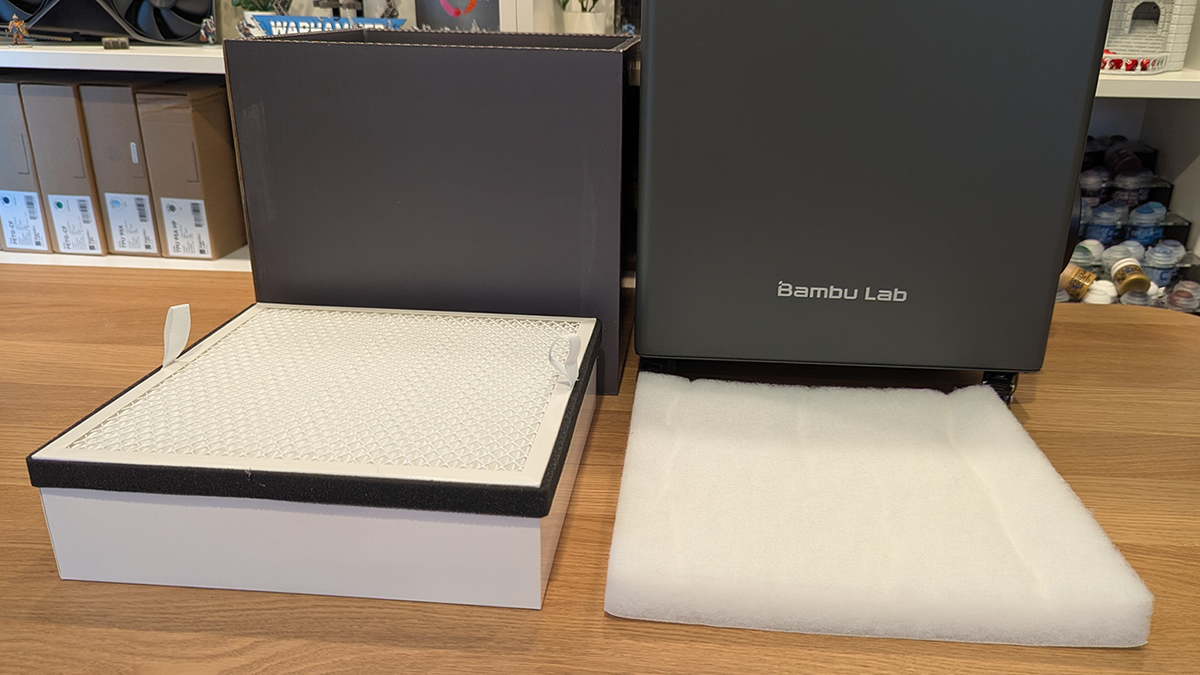
Alongside the H2D, Bambu Lab supplied us with their Smoke Purifier. This can be connected to the hose outlet of the H2D Laser and is designed to “filter out 99% of particles down to 0.3µm & VOCs”. This device is not connected to the H2D electrically and must be turned on manually. The speed of the device’s internal fan is controlled using the dial at the front.
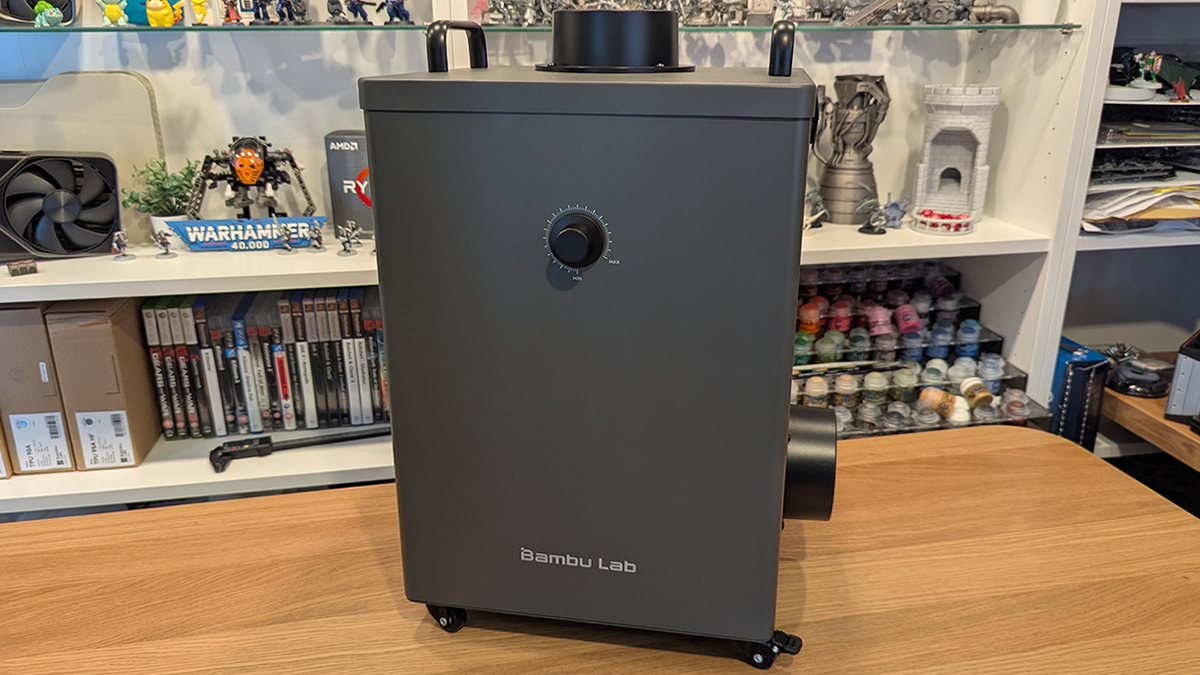
This air purifier features four filters. The first is a G4 cotton filter (bottom left), and the second is an F8 filter. These two filters capture dust. Inside the dark grey section is a carbon filter and H13 filter, which remove VOCs and trap ultra-fine particles. Two replacement G4 filters are provided with this air purifier. This filter is the first stage of filtration, and will be the first to get filled with smoky particles.
Safety Features
Included with the H2D Laser is an E-stop. It allows users to quickly turn off the H2D by pressing this big red button. In the event of a fire inside the machine, this button should be pressed immediately while lasering. This will stop the laser and help prevent any further issues. When using a laser cutter, the machine must always be monitored carefully.
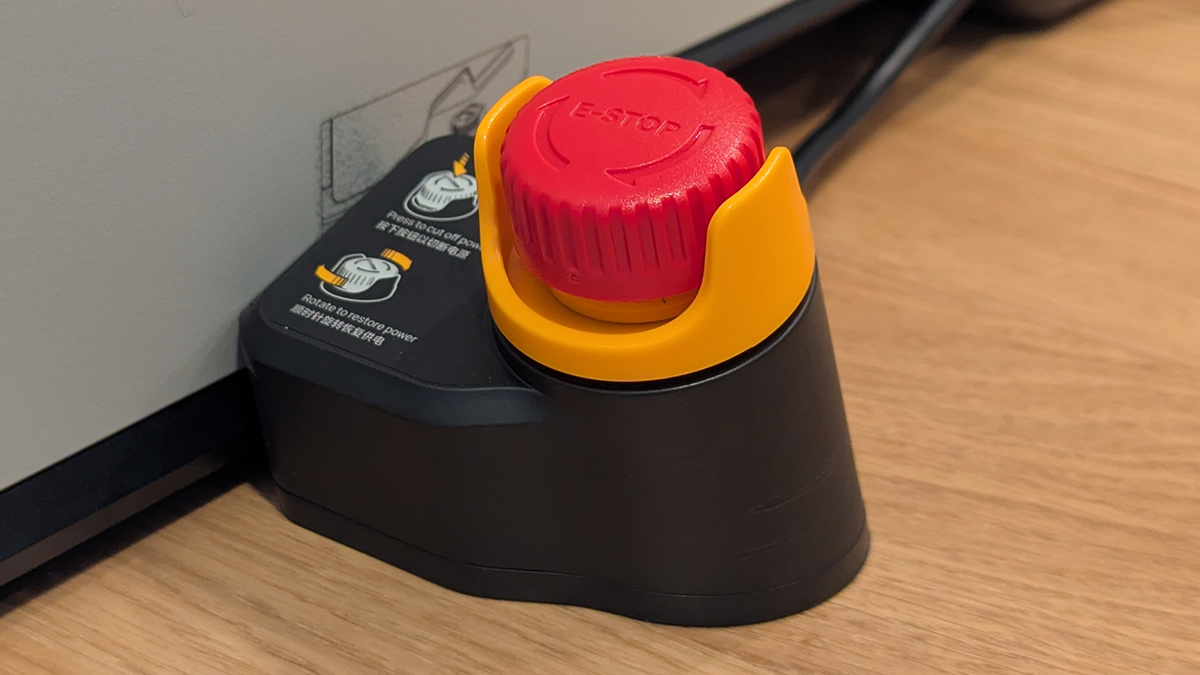
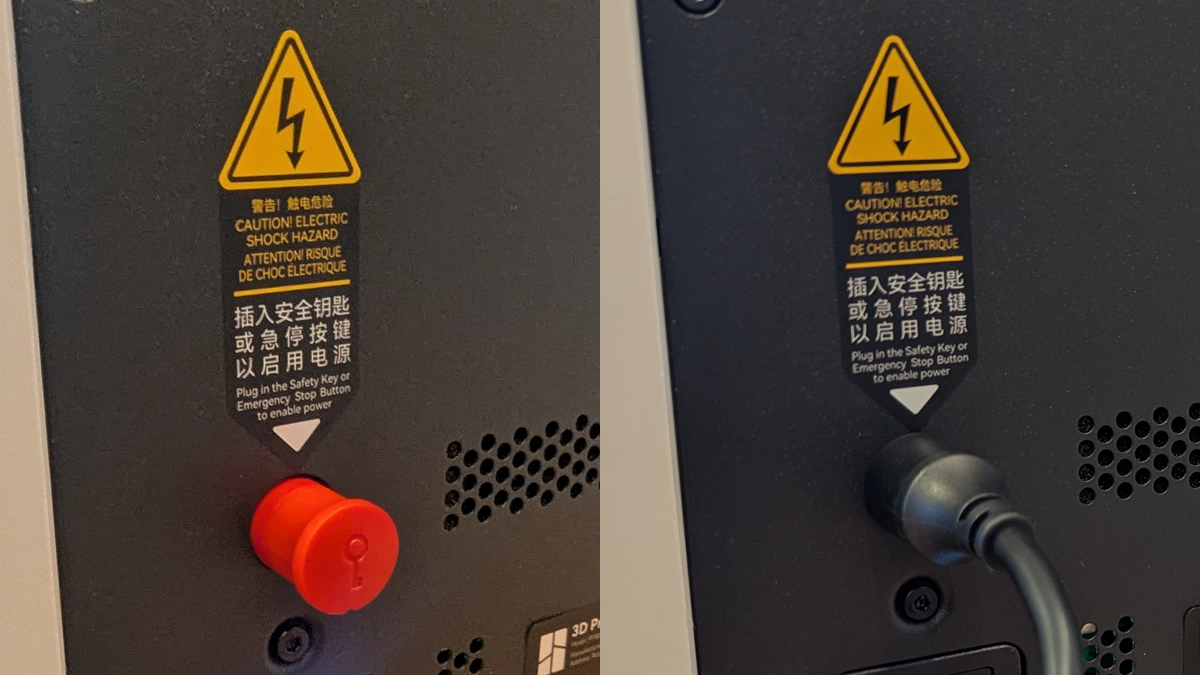
This E-stop is inserted into the keyhole for the H2D. A separate key is in the back of the E-Stop button. Without this key inserted, the H2D cannot be turned on.
Laser tray
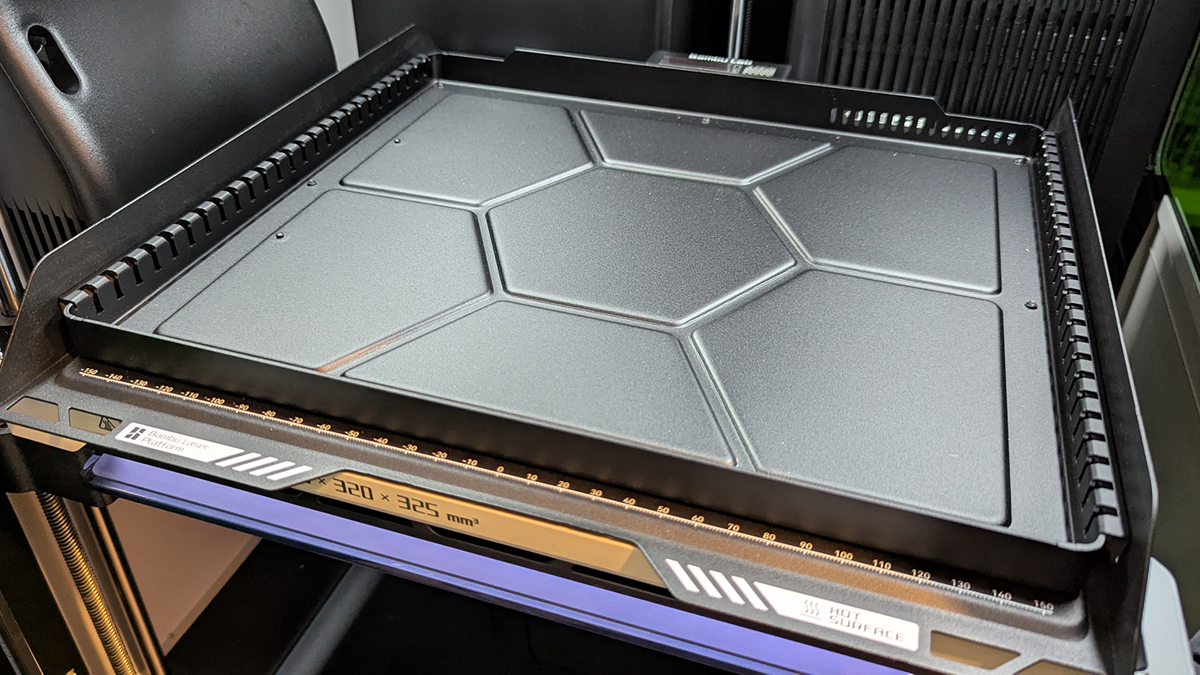
Included with the H2D Laser is a laser tray that can be installed in the same area as the H2D Laser’s build plate and cutting mat. Metal slats can be installed on this plate to support laser materials. Note that magnets are also provided to help secure materials to the build plate.
Smoke – Where does it go?
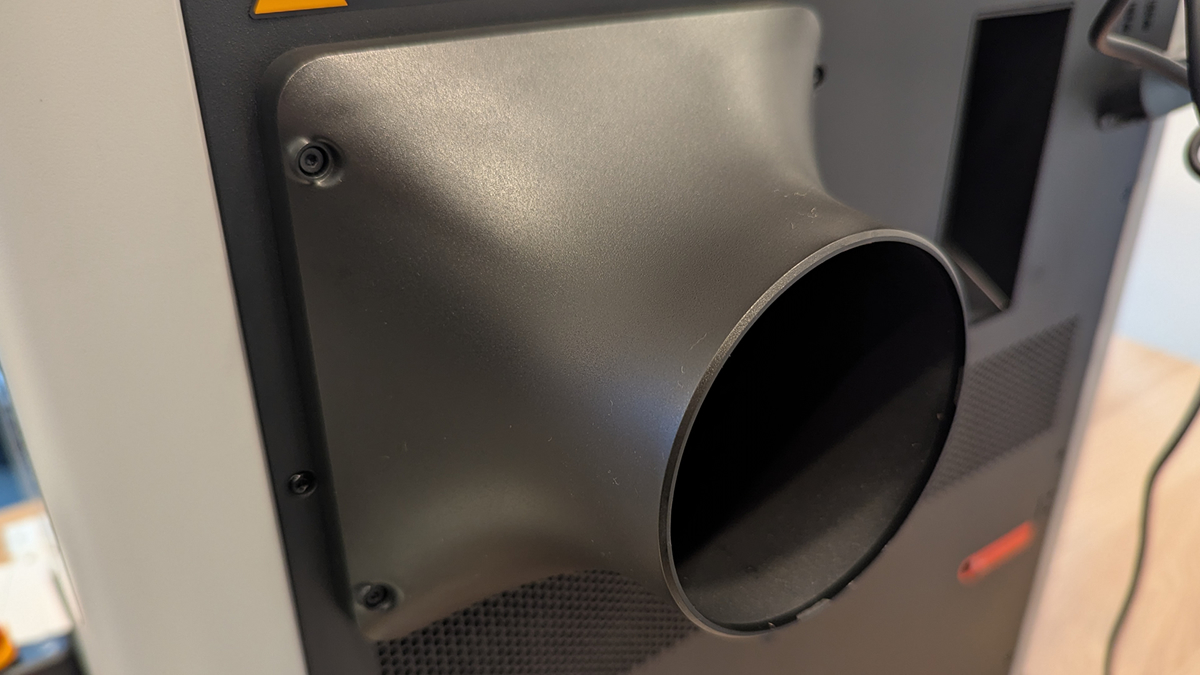
At the rear of the H2D Laser, users can install an outlet hose component. This can be done over the H2D’s rear exhaust. Note that there are four screw holes that can be used for this attachment.
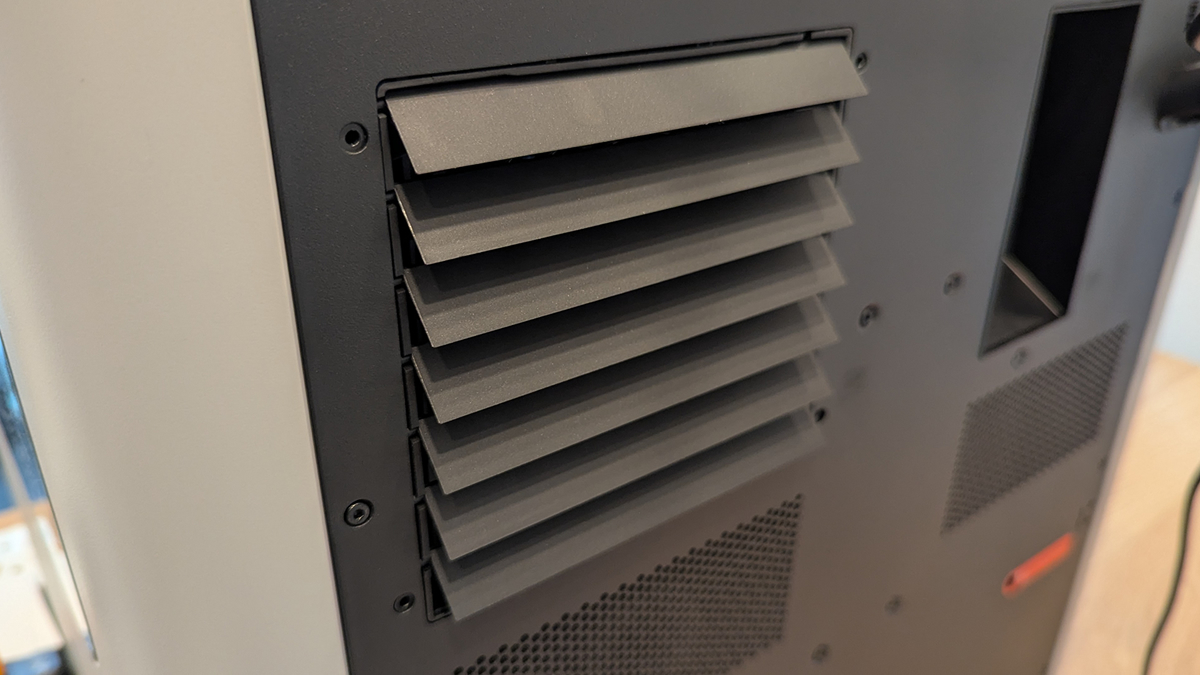
Once installed, this attachment can be used to install a hose. This can be connected to the Bambu Lab Smoke Purifier or directly exhausted outside.
Monitoring laser projects
The Bambu Lab H3D laser uses green plastic for its front/side windows. The reason for this is laser safety. Looking at a laser is an easy way to damage your eyes. The dark green glass helps to protect your eyes. That said, I wouldn’t recommend looking at the laser, even through glass.
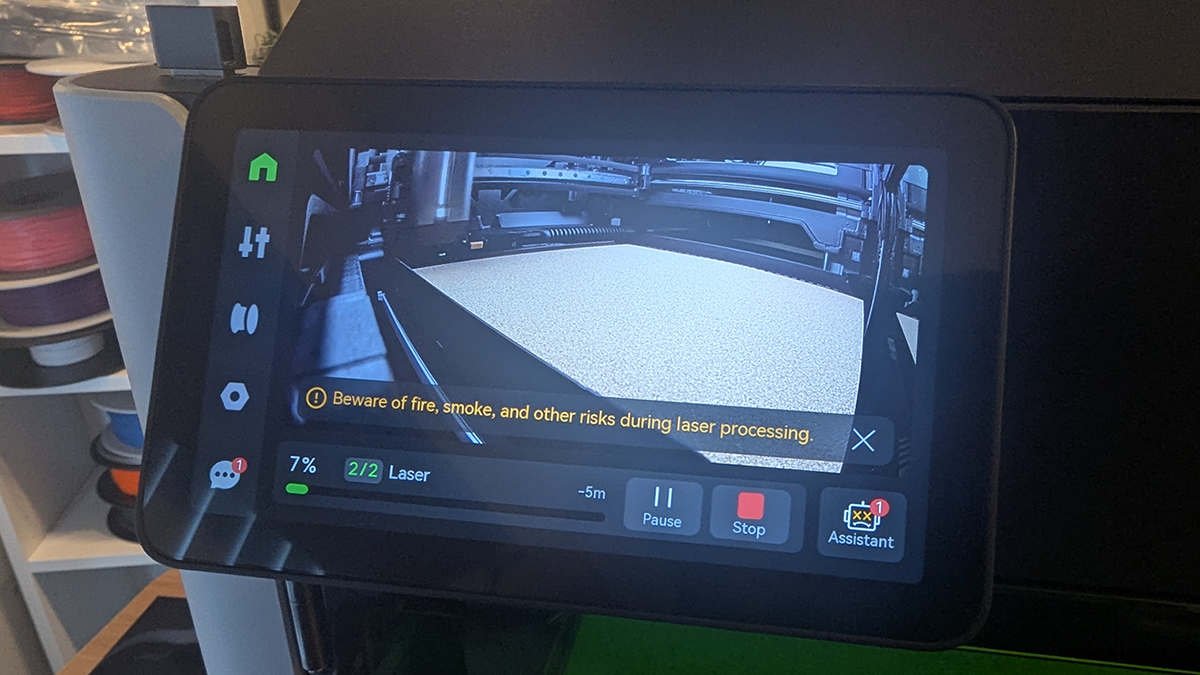
When using the laser to engrave or cut, it is best to look at the laser using the H2D’s screen. This provides a clear, untinted picture of what’s going on. Forget about the assistant message there, it’s just telling me that it’s time to do some maintenance. I’ll get to that later.
Laser Projects
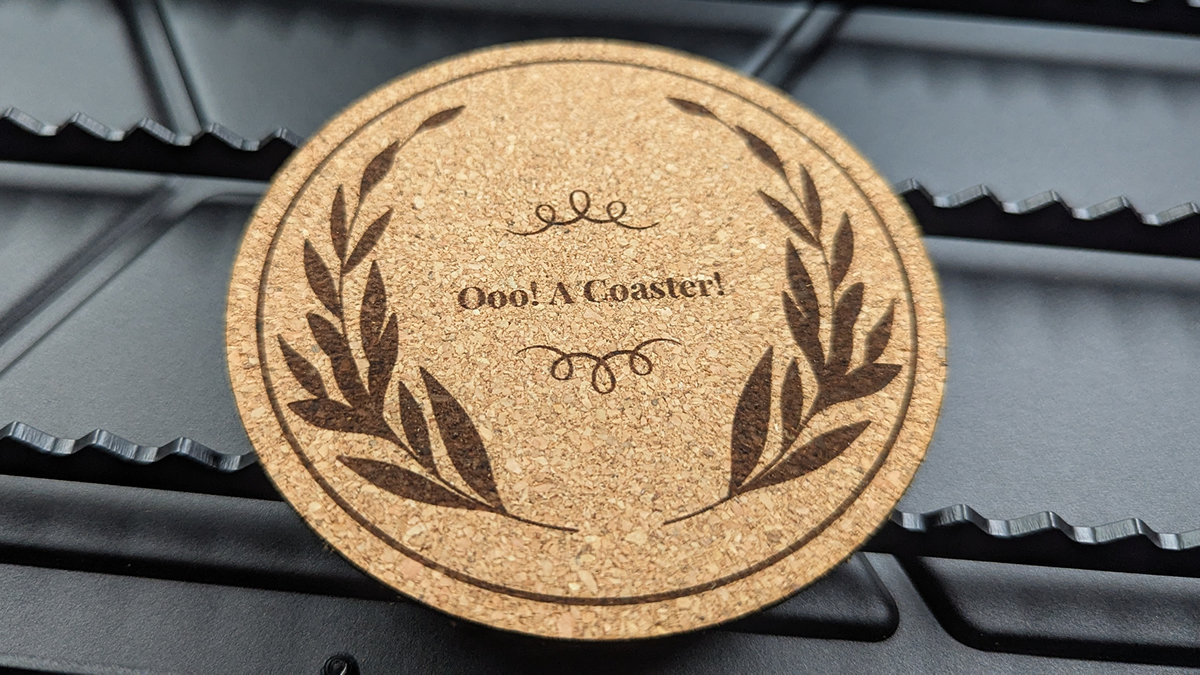
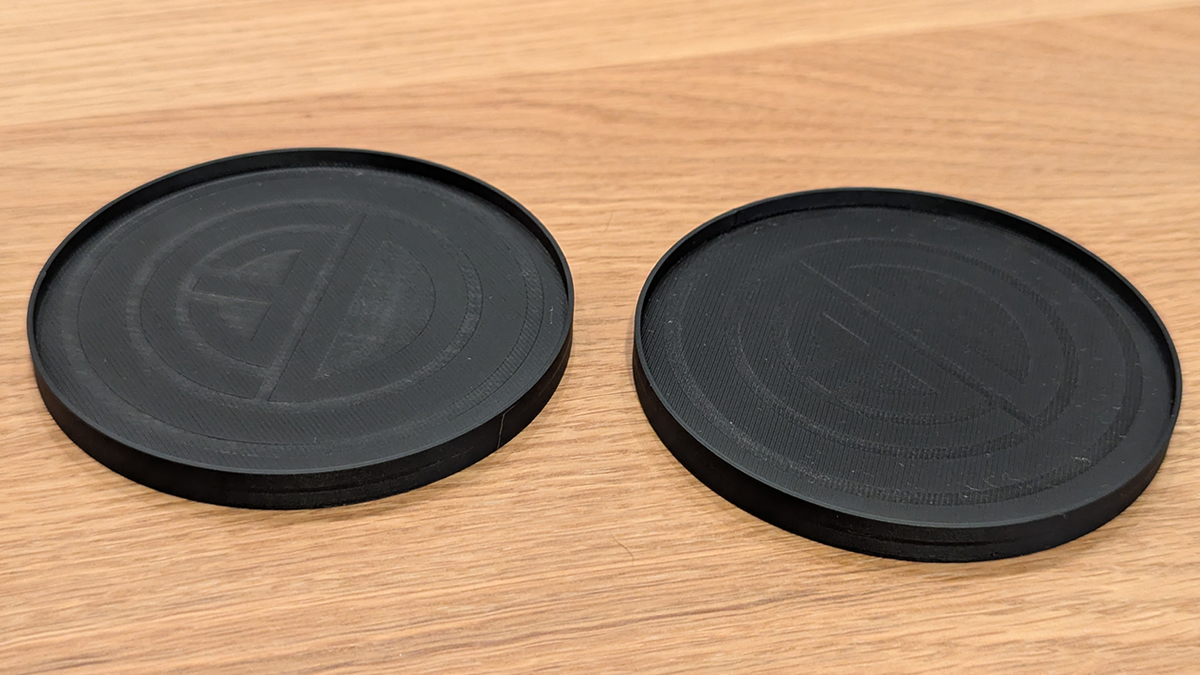
First, we did the H2D’s starter project from Bambu Suite. This project required a circular cut and some engraving. a simple but nice-looking coaster.
Next, I wanted to engrave some 3D prints. Perhaps black coasters are not ideal for this, but it worked!
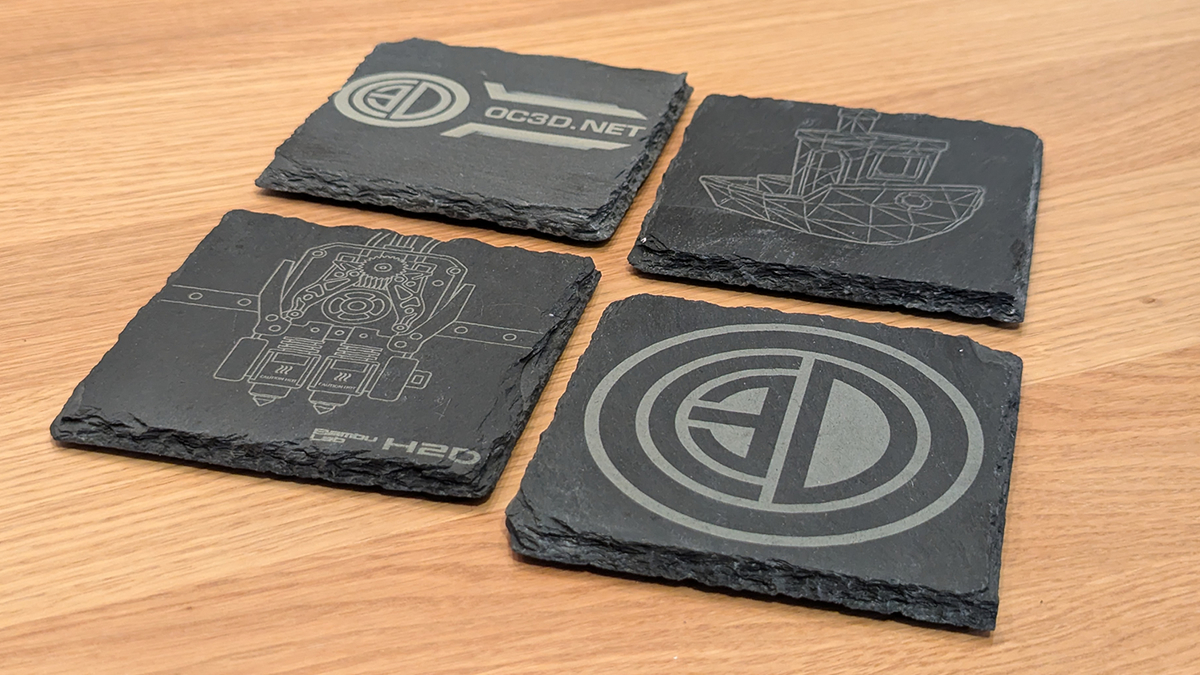
While the laser doesn’t have profiles for slate, I decided to test things out and engrave my own set of coasters. The results are great, though its a shame that there is no default profile for this.
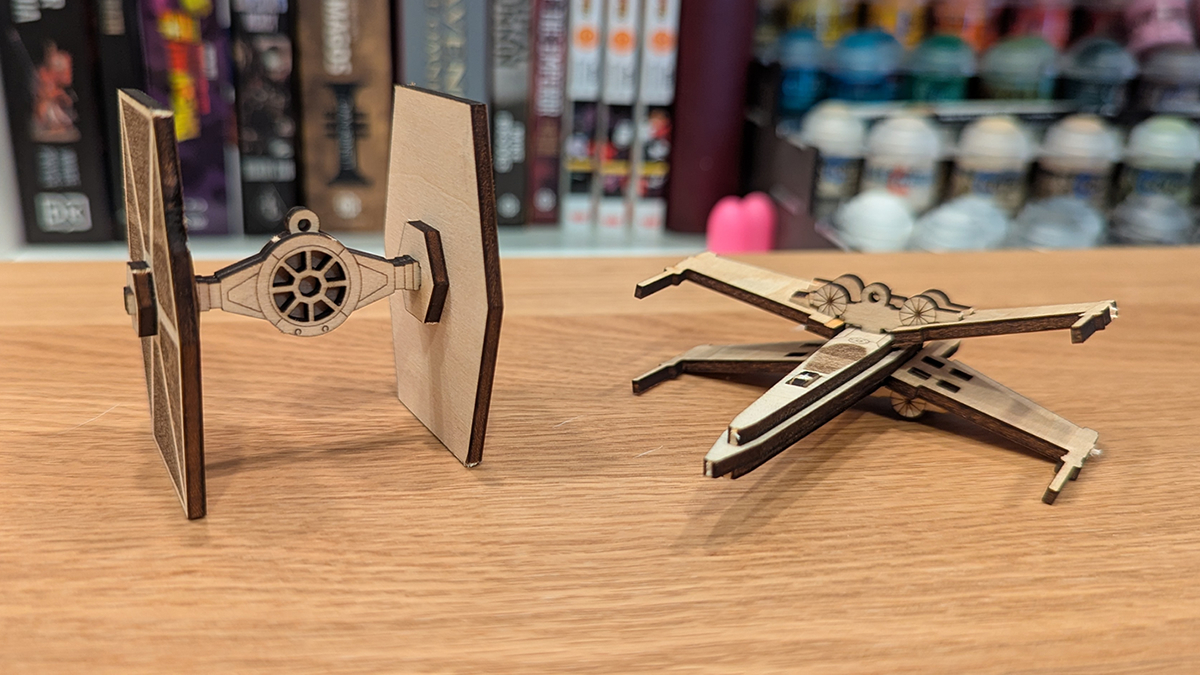
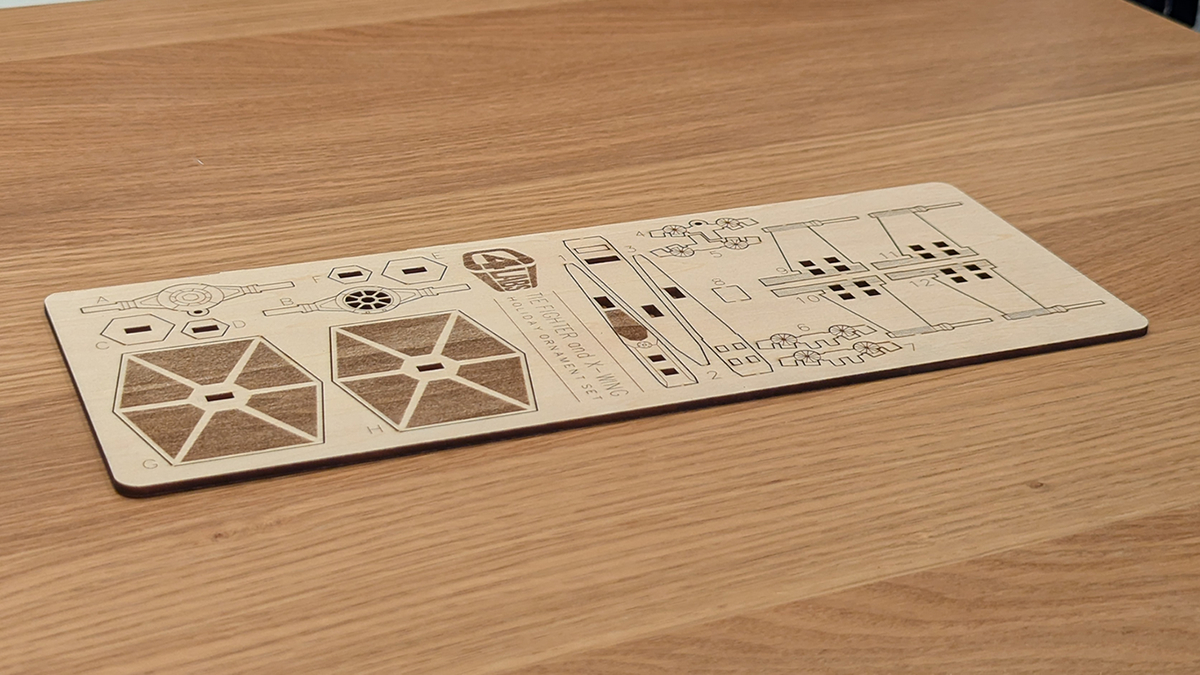
Star Wars ornaments
Next, we have some Star Wars ornaments that I have previously made using other laser cutters (files here). It didn’t take long to set things going using the H2D Laser.
Note that the material is not charred around where it is burned. That’s a nice perk of the H2D’s low-power blue laser. We used the 10W laser module for this review.
The H2D laser is great for cutting through thin materials. We used the 10W laser for this review, though a stronger 40W laser module is available for those who want to cut thicker materials.
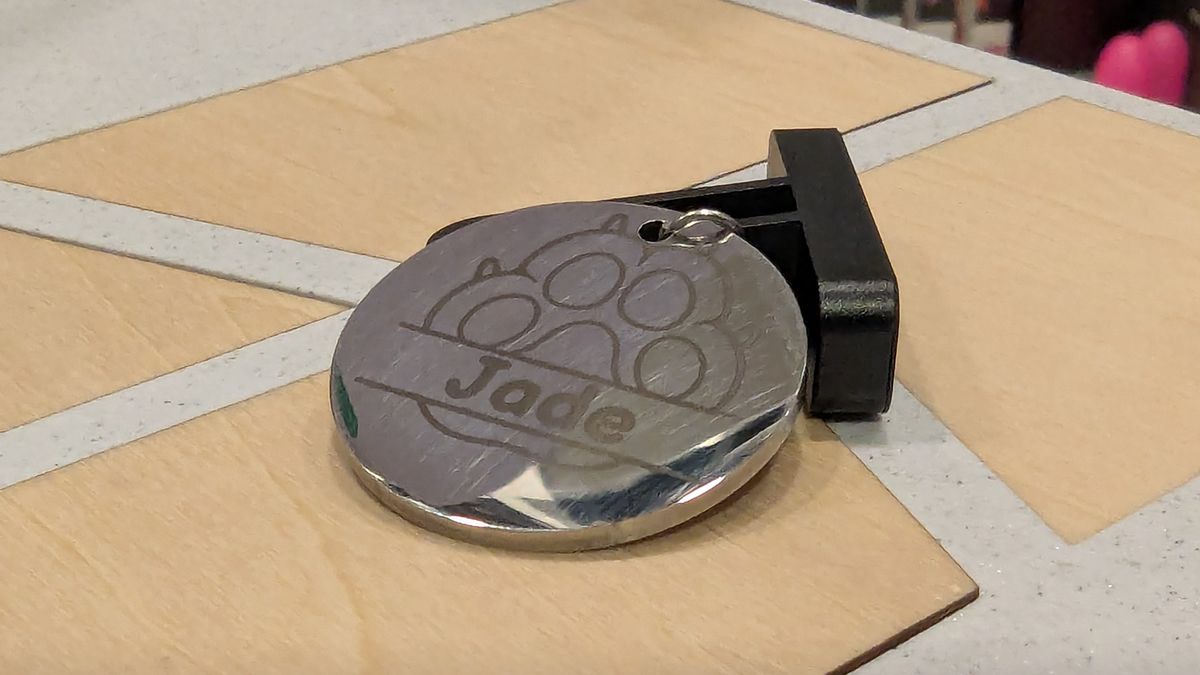
Metal
Next, I tried engraving a metal dogtag. Overall, this is a great result for a first try.